
Build Page: 1 2 3 4 5 6 7 8 9 10 11 12 13 14 15 16 17 18 19 20 21 22 23 24 25 26 27 28 29 30 31 32 33
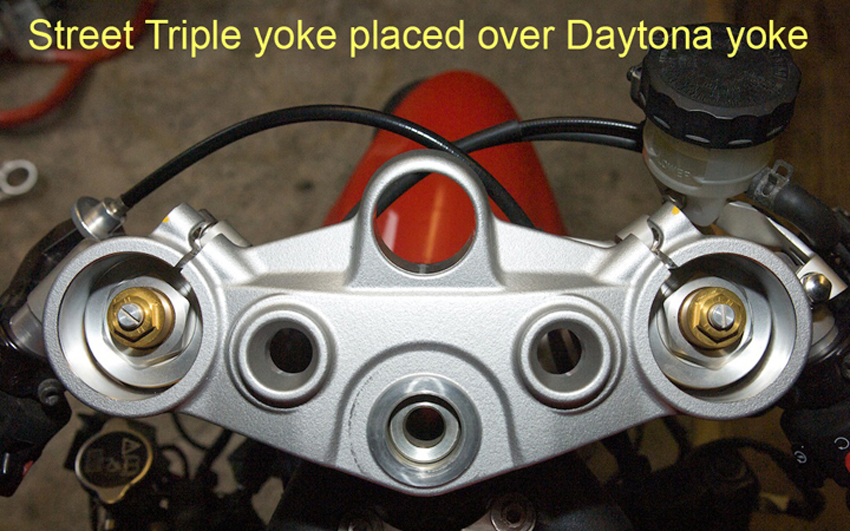
Day 1 - 18-12-09 - I got myself a Street Triple top yoke, so it was time to see if it would mate to the Daytona bottom yoke. Not a chance! Close, but no cigar. It's about 2mm out.
Here are the factory figures for the rake and trail of all three 675's:
Daytona 675
rake 23.9 degrees
trail 89.1mm
Street Triple
rake 24.3 degrees
trail 95.3mm
Street Triple R
rake 23.9 degrees
trail 92.4mm
I would suggest that the rake is set within the headstock and is different between the Daytona frame and the Street Triple frame. As the Street Triple R has the same rake as the Daytona then it seems reasonable to assume the Street Triple R uses the same headstock angle/internals as the Daytona.
However the trail figures differ between all three bikes. But the Street Triple and the Street Triple R use exactly the same top and bottom yoke (the part numbers are the same on the dealers computer), so this might explain the different trail figures. I have ignored any change in ride height that might effect the trail figure.
Enough assumptions on my part. If I get a Street Triple lower yoke will it just slide straight in? The answer is yes. So first big problem solved. So if you are considering this conversion then (unless you modify the Daytona top yoke) you MUST fit the bottom yoke from the Street Triple also. You can use top and bottom yokes from either a Street Triple or Street Triple R as they are exactly the same part numbers.
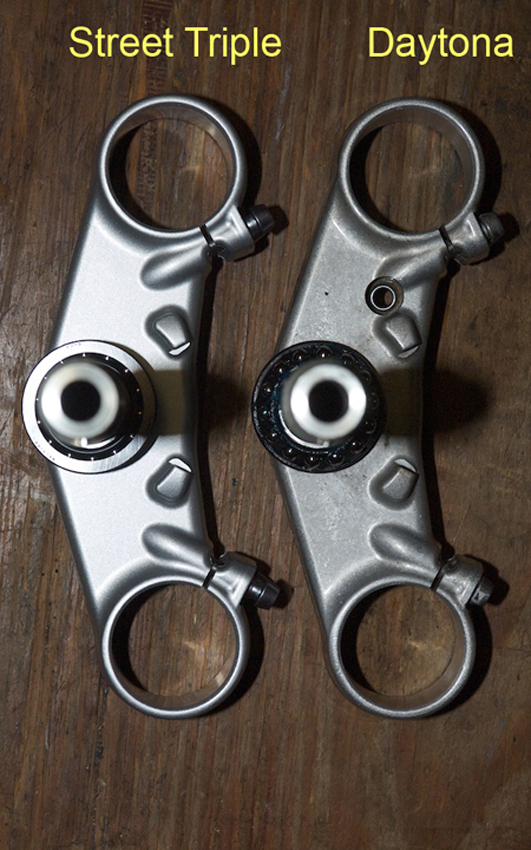
I have attached a picture of the Street Triple top yoke placed over the top of the Daytona top yoke fitted to the bike so you can see how close it is to fitting. Also is a picture of the Street Triple bottom yoke (on the left) next to the Daytona bottom yoke. It's hard to see, but there is a slight difference in angle.
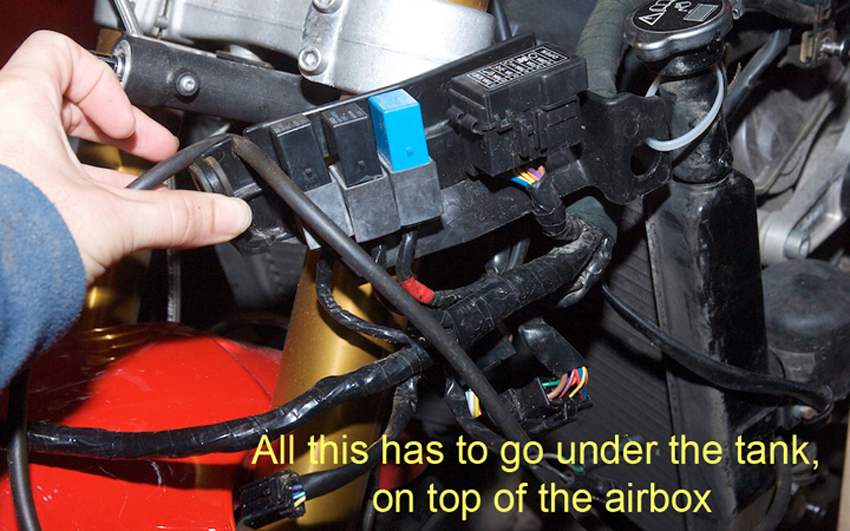
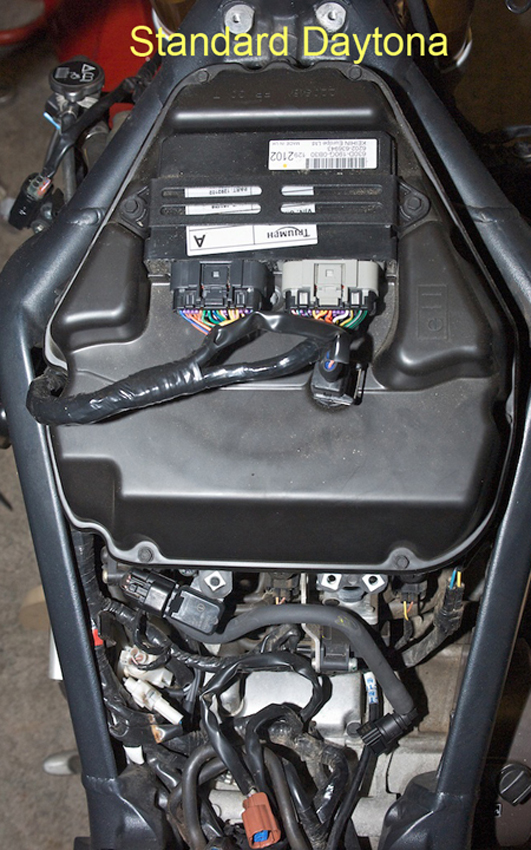
Next picture shows the relays and fuse box that need to be relocated from the left side of the bike.
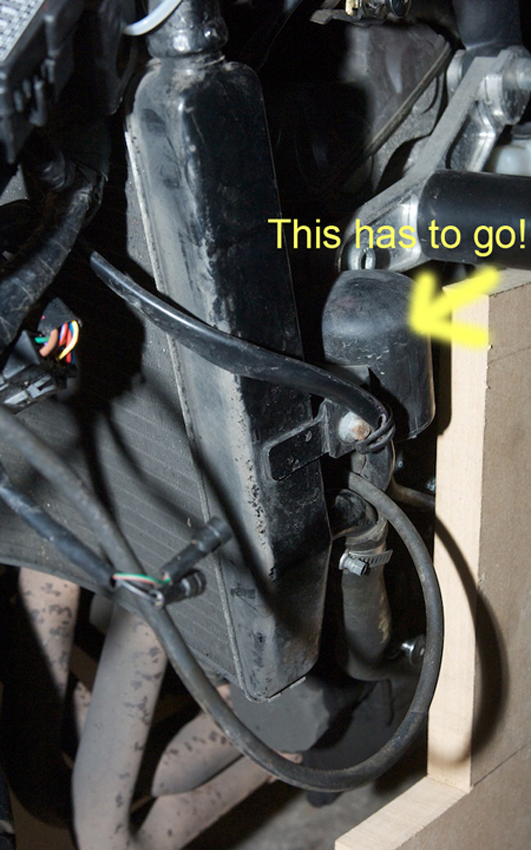
Then a picture of the vacuum canister next to the radiator which needs to go. From what others who have done this conversion have said it can be junked without any worries as it does nothing. It's connected to the flapper valve and that is just there to help the bike pass noise tests. What a complex, weighty addition and huge waste of time!
The next picture shows the existing air box cover.
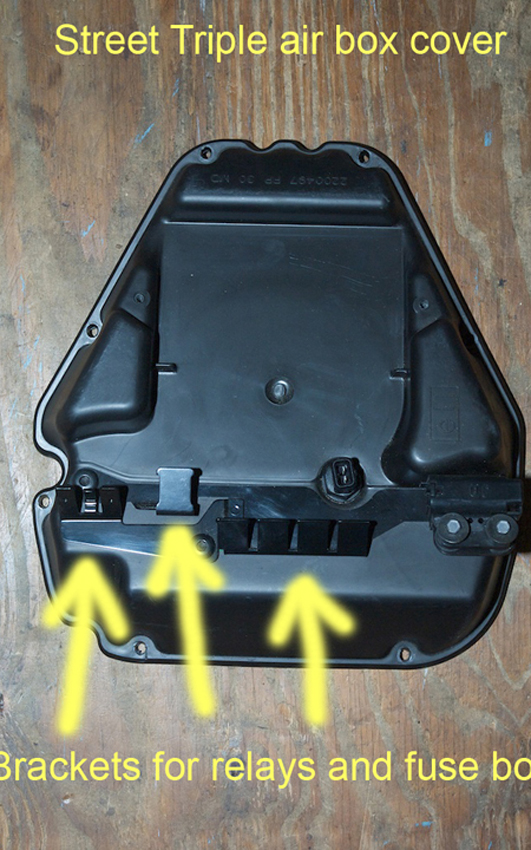
The last picture shows an air box cover from a Street Triple. On the lower edge are brackets for fitting the relays, fuse box and flip switch. It goes straight on, although the underside is slightly different in one area, but I don't think it will be and issue.
That's all for now.
If you would like to receive an email update when the next instalment is published then please email me at rubyracing@hotmail.co.uk putting "Project Daytona Street Updates" in the subject box. Don't worry I'm not going to spam you, you will only receive an email whenever I update this site.
Build Page: 1 2 3 4 5 6 7 8 9 10 11 12 13 14 15 16 17 18 19 20 21 22 23 24 25 26 27 28 29 30 31 32 33
*
 |
 |
 |
 |