
Build Page: 1 2 3 4 5 6 7 8 9 10 11 12 13 14 15 16 17 18 19 20 21 22 23 24 25 26 27 28 29 30 31 32 33
Day 15 - 11-2-10 - Stepped away from the wiring today. I need to get my new bikini fairing attached so that I can sort out the routing of the wiring for that. It wont fit straight on, so some metal brackets are going to be made to adapt it. I'm doing a TIG welding course at the moment so I hope to make them myself. I'm only 4 weeks into the course, so I may be getting a bit ahead of myself there.
I also need to make an adapter plate for the speedo as the plastic pins on the rear of it don't line up with those on the bikini fairing mount. As if I would be that lucky! So I started making a mock up of that in wood to see if it would work and more importantly to make a pattern for the real thing, which will probably be made of aluminium.
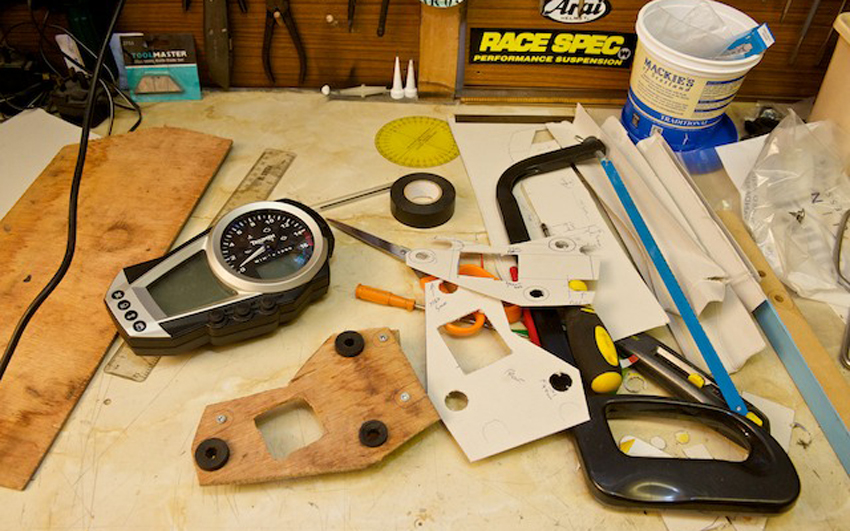
Not a quick job, but like everything if you want to get it right then take your time. I need to utilise the speedo mounting holes on the bikini fairing mount to attach the bracket to and then after that work out where the holes for the Daytona speedo can go. Luckily the holes for each are in different place, otherwise it would have been much more difficult. Here are some pics of the mock up. Note the copious use of a Corn Flake packet. Blue Peter was a great teacher! That's all, because like all "quick" jobs, it actually took a lot longer than first anticipated.
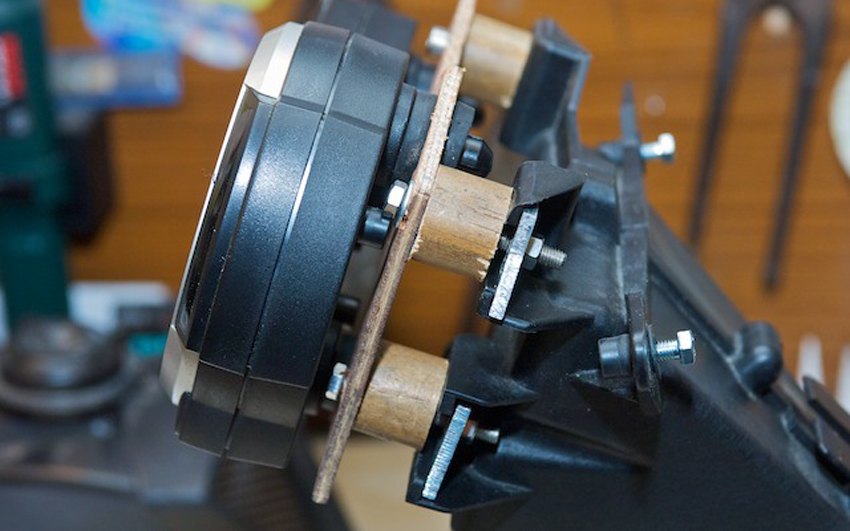
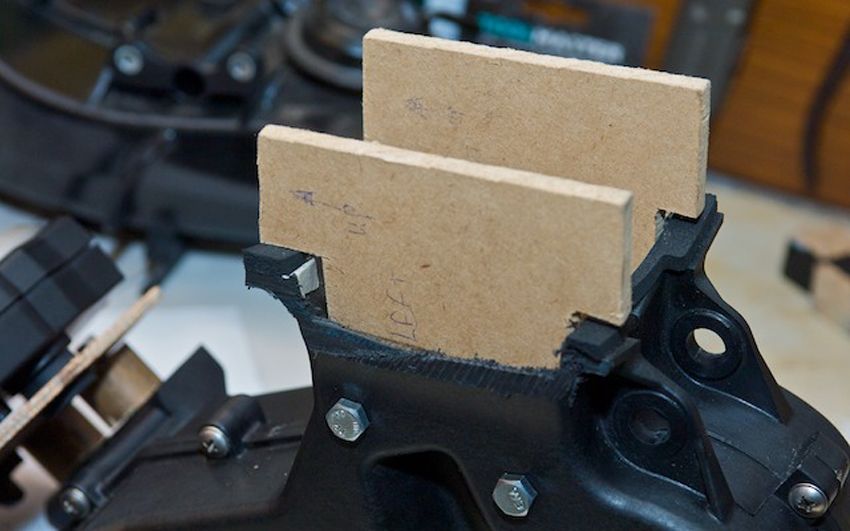
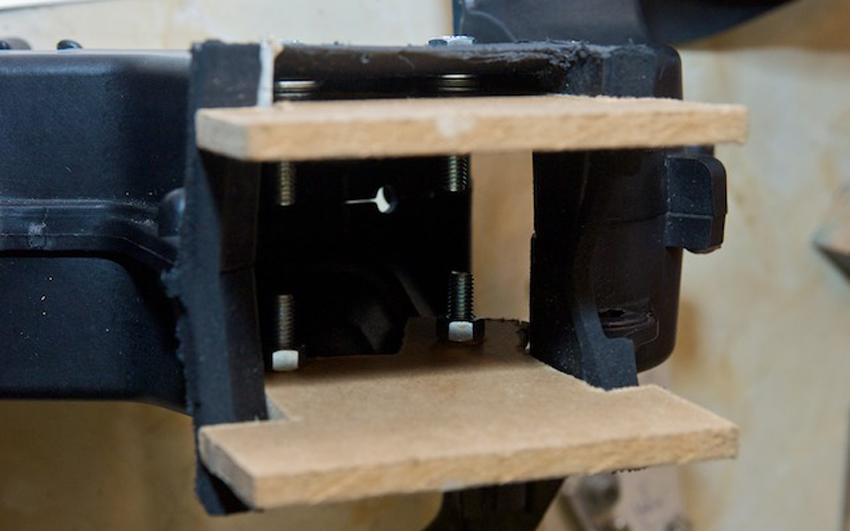
I have started with 20mm blocks on the rear of the new mount bracket as I need to have space for the plastic pins to push through. At the moment it looks like I can get away with shorter length blocks, but I also need to have room for the loom connection on the rear of the speedo and I wont know how much space that requires until I fit it. I'm hoping to reduce the size as much as possible and this test will let me know how deep theses mounting blocks need to be.
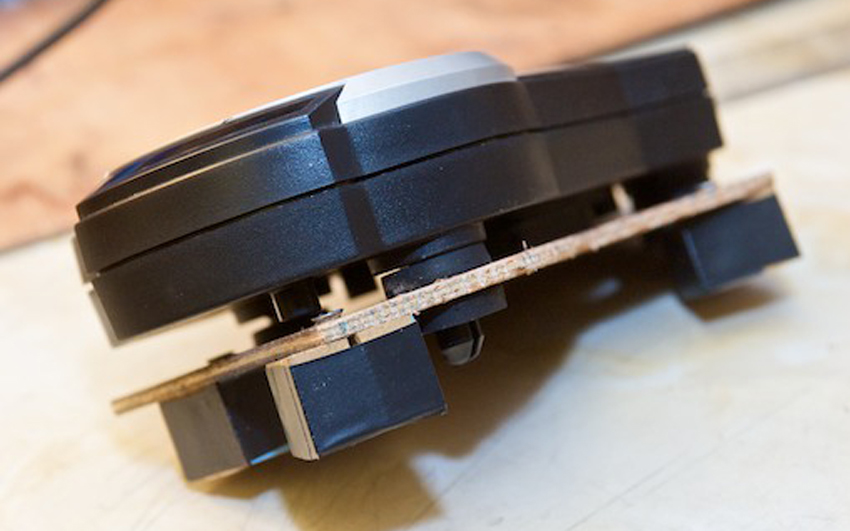
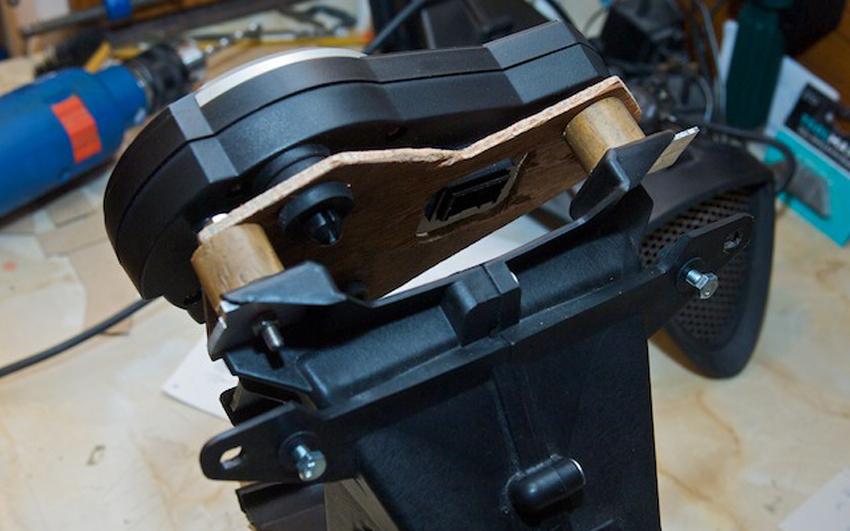
Day 16 - 19-2-10 - Continued work on the brackets. A lot of trimming, adjusting, fitting then taking it off, etc, to try and get a final design. For the speedo bracket I started off with 20mm blocks on the rear, but this sits the speedo quite high. Not a problem in itself, it just looks a bit biff. This height was determined by the need to be able to route the speedo loom connection on the underside. Then I looked at the fairing mount for a bit and have decided I can route the cable through the fairing mount by cutting some holes, then I can have it exit the fairing mount right behind where it needs to connect to the speedo. By cutting these holes it means the 20mm blocks can now be reduced to about 3mm, which will make things a lot tidier. The pictures show it with the 20mm blocks on the rear side and from the photo from the front you can see the gap where the loom cable attaches to the rear of the speedo.
I also continued work on the brackets to attach the faring mount to the frame. I'm utilising the existing mount holes that are in the headstock which would normally be use to mount the intake tube. It's not a straight forward match (as if!?) as the spacing between the lower two holes compared to the top two holes differs in width by about 3mm. Also where my brackets attach to the fairing mount means that they are too wide to fit in the intake hole in the frame. So I need to shim them inwards on the fairing mount so they fit snug into lower locating holes in the frame and then shim the top of the brackets outwards to meet the inside of the intake hole in the frame. This will just be a case of welding some plates onto the the metal bracket that I make. I hoped to work out how much shimming was needed with my wooden mock up, but they bend too easily because they are wood. So I will make the brackets in metal and then will be able to calculate correctly the size of shim I will need as the metal will not bend as I'm using about 3mm steel. Next step is to make the metal brackets, so watch this space.
If you would like to receive an email update when the next instalment is published then please email me at rubyracing@hotmail.co.uk putting "Project Daytona Street Updates" in the subject box. Don't worry I'm not going to spam you, you will only receive an email whenever I update this site.
Build Page: 1 2 3 4 5 6 7 8 9 10 11 12 13 14 15 16 17 18 19 20 21 22 23 24 25 26 27 28 29 30 31 32 33
*
 |
 |
 |
 |