
Build Page: 1 2 3 4 5 6 7 8 9 10 11 12 13 14 15 16 17 18 19 20 21 22 23 24 25 26 27 28 29 30 31 32 33
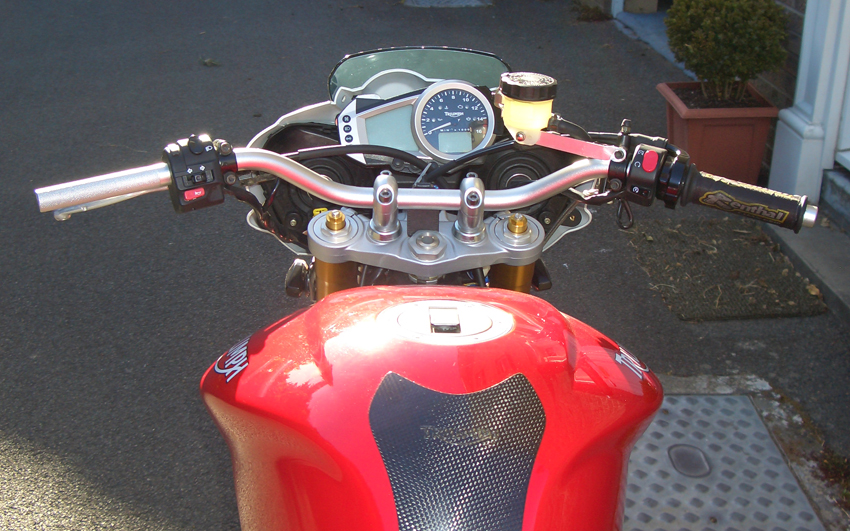
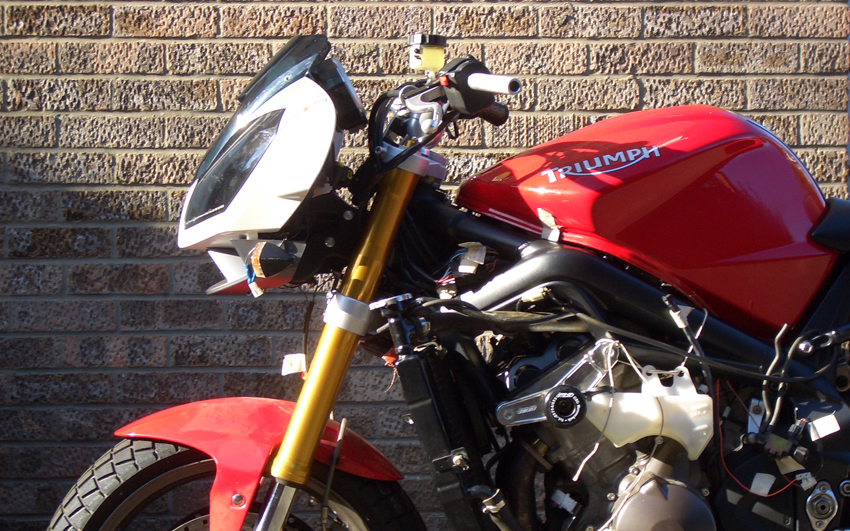
Day 21 - 21-6-10 - I made a small loom to connect up the headlights. Tested that and it works. Then I taped up the whole of the loom loosely with the protective covering that goes underneath the loom tape (see photo). This is to enable me to go for a shakedown ride. Once I'd done that I fitted the air box and fuel tank. I'm using Street Triple frame infills for the triangular areas behind the headstock. This is where the handlebar cables, ignition, clutch and throttle cables enter the engine side of the frame.
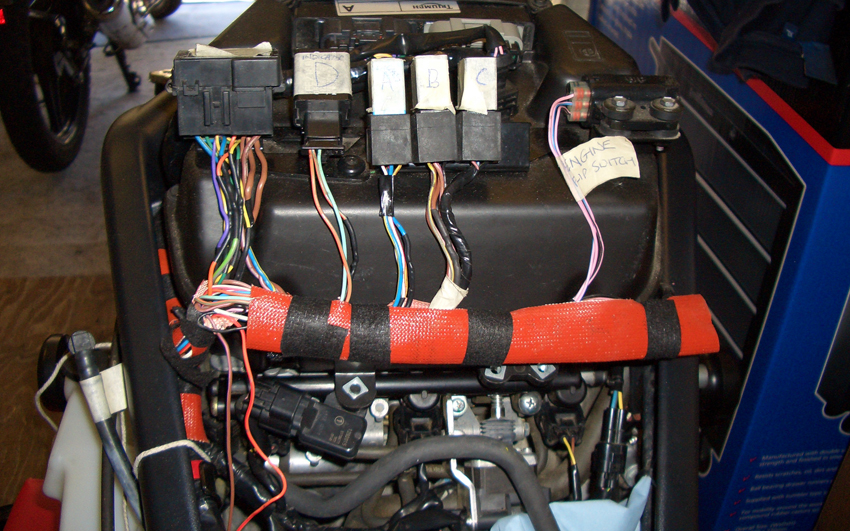
It's now I notice a small problem. With the frame infills fitted there isn't quite enough space for all the block connectors on the wiring as the Secondary Air Induction servo is in the way (see photo). No drama I thought, I'll just bin the whole SAI and fit blanking plates to the cam cover. However! I chatted with Street Tango (on triumph675.net) about this as he has loads of experience with Triumphs. Seems that if you remove the SAI the motor will not run correctly. I can't remember the details, suffice to say I'm not going down that route.
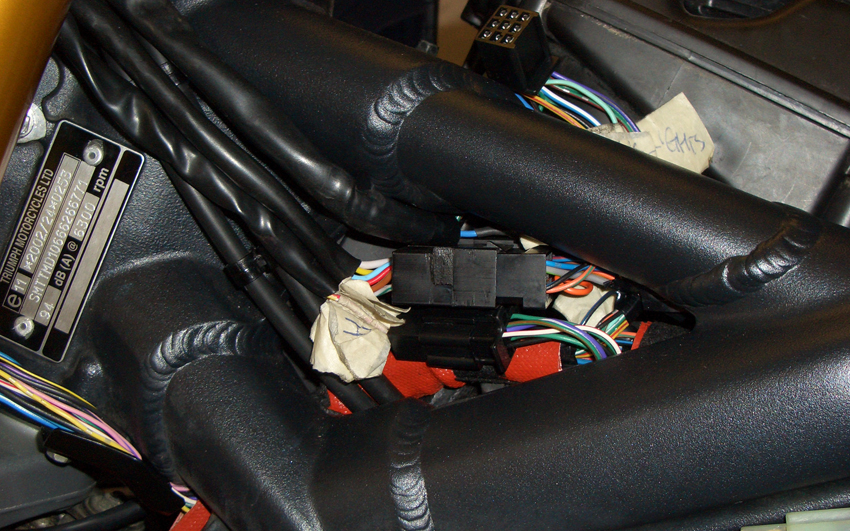
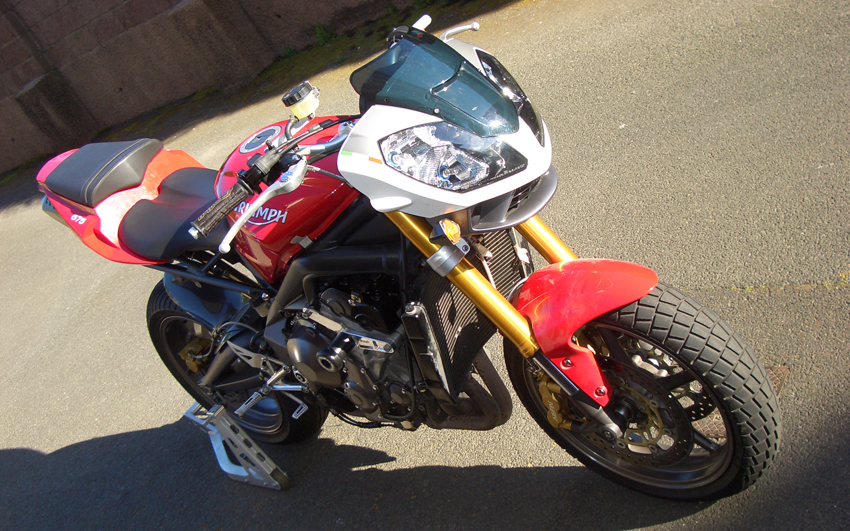
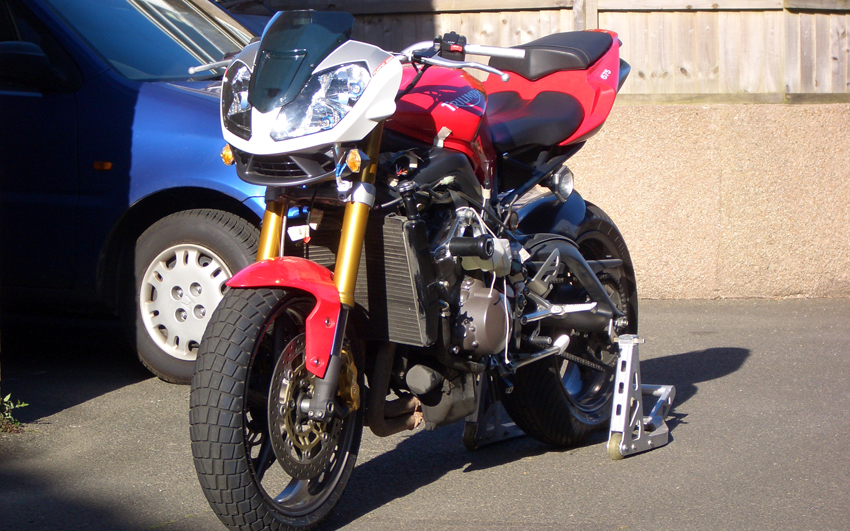
I looked at my problem again and with careful placement of the block connectors I may just fit it all in. I'll come back to this problem later. Right now I just want to get her ready for that shakedown run. The battery is on its last legs and even after charging hasn't got enough power to start the motor, just that annoying "click". So I jump started her off my wife's car and she fired up. WooHoo, Trixie roars once more. Only I have some more problems. The engine light remains lit and the rev counter works sometimes, but not all the time. Hmmmmmmmm. Having thought about it I hope it's just a case of the poor battery power limiting things and the engine light glowing because I disconnected stuff with the battery attached. Either way I have ordered a new battery and once fitted will take the bike to my dealer to get the fault codes read and, fingers crossed, deleted and the light to go off.
I had a little ride around the lane. Just in first gear, but a little ride nonetheless. I'm getting close!
Thought I'd update my job list:
1. Fit different headlights/bikini fairing. Requires a custom made bracket. DONE
2. Re-direct the wiring loom. DONE
3. Fit Street Triple yokes and handlebars. DONE
4. Fit Street Triple throttle & clutch cables. DONE CLUTCH
5. Lengthen wiring from handlebars. NOT NEEDED
6. Relocate the relays and fuse box that live inside left fairing panel. DONE
7. Remove all bits associated with flapper valve. DONE
8. Relocate indicator relay from behind radiator. DONE
9. Relocate flip switch from in front of speedo. DONE
10. Get rid of horrible brown (A) engine covers
(B) cam cover DONE
11. Repaint (A) bike
(B) wheels DONE
12. Fit mirrors.
13. Loads of other stuff I hadn't anticipated!!!!
13a. Make brackets to fit bellypan.
13b. Make bracket to mount speedo on bikini fairing. DONE
13c. Fit new indicators.
13d. Tape up loom once road tested.
13e. Fit resistor to flapper valve wiring.
13f. Fit longer brake line on front brake. DONE
13g. More stuff I hadn't anticipated!
If you would like to receive an email update when the next instalment is published then please email me at rubyracing@hotmail.co.uk putting "Project Daytona Street Updates" in the subject box. Don't worry I'm not going to spam you, you will only receive an email whenever I update this site.
Build Page: 1 2 3 4 5 6 7 8 9 10 11 12 13 14 15 16 17 18 19 20 21 22 23 24 25 26 27 28 29 30 31 32 33
*
 |
 |
 |
 |