
Build Page: 1 2 3 4 5 6 7 8 9 10 11 12 13 14 15 16 17 18 19 20 21 22 23 24 25 26 27 28 29 30 31 32 33
Day 18 - 2-5-10 - Finally I have been able to do some more work on the bike. Just to quickly recap, on 27 March 2010 I had my first race of the year at Snetterton. Unfortunately at the end of the first lap of the first race someone crashed right in front of me at Russells Chicane. I had nowhere to go and crashed into his bike at about 30mph. The outcome was a collarbone broken in three places and the end of the bone smashed off. I had an operation to plate it with titanium and seven screws on 9 April 2010. It's only now that I have been able to use my left arm, but only to hold light weighted things. Luckily I am right handed! Here's a before and after pic for the plate:

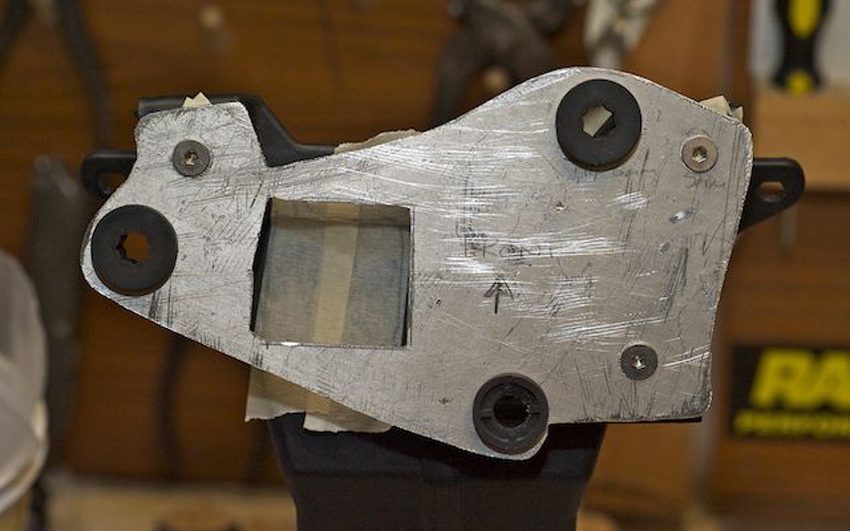
Before the accident I had managed to make a speedo adapter plate with a piece of 3mm aluminium I had kicking around the garage. It did the job and amazingly the speedo was nice and level when fitted, but there were too many unnecessary bits of metal poking out from behind. Basically it was too big. So yesterday I marked out the metal that I could remove and set to with a hacksaw and file. The result is what you see in the photo. There is just one bit that is obvious (top left of speedo) once mounted, but there is no getting around this. Once it's painted black it will be much more unobtrusive.
It was at this point I realised I had a problem. Bit of a Catch 22 situation. To mount the adapter plate on the new bikini fairing mount I have to attach it BEFORE fitting the speedo as I can't get at two of the three bolts that hold it in place because the speedo will be in front of them. However, the speedo must be fitted to the adapter plate BEFORE the adapter plate fits to the bikini fairing mount as there is one screw on the rear of the speedo that holds it securely in the rubber mounts. It would probably be safe without this screw, but I'd rather do it properly. Doh! Hadn’t thought that one through. Luckily I came up with the answer. Quite quickly for me it has to be said. I would just get the two hidden screws on the right hand side welded into place. Sorted.

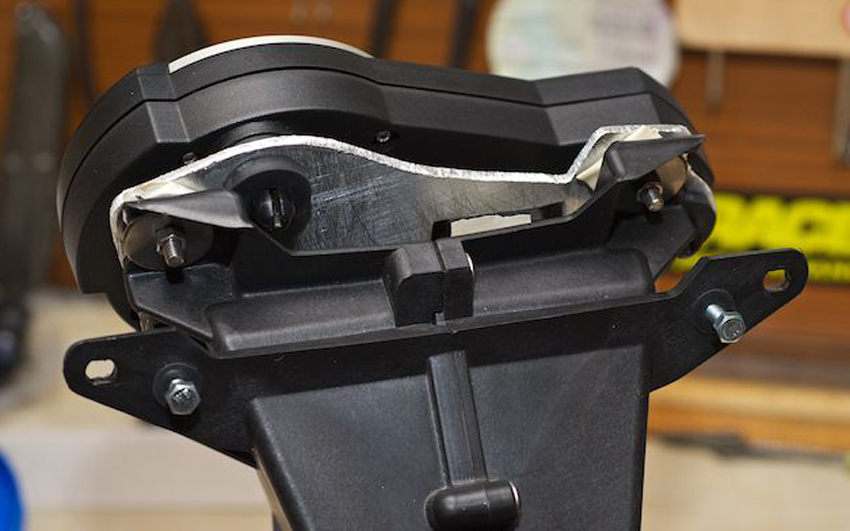
I've used some penny washers to lift the speedo bracket away from the bikini fairing mount, far enough so that the locating pins on the back of the speedo can go all the way through the rubber mounts. These washers will be replaced with some aluminium spacers that I will make up during my welding class. Probably 3mm thick, but may have to go slightly thicker.
A small job I did was to remove the clip ons, then torque up the headstock nuts. Before that I disconnected the brake hose from the master cylinder and then mounted this on the new upright Renthal bars. Last week I also measured up the length of brake hose I would need for the front brake. Had got quotes from three suppliers, although getting the fittings I require seems to be a problem. One company cant do the same banjos that are on the right caliper. Their solution is not as elegant as OE. Another supplier doesn't seem to able to read my requirements, so I'm getting a bit miffed with them. Luckily I was at my local Triumph dealers after a hospital visit, so checked out the Street Triple R he had in the showroom. Looks to me that the master cylinder and calipers are the same as that fitted to the Daytona, so if the hose is long enough I'll just order the Triumph part. Fingers crossed.
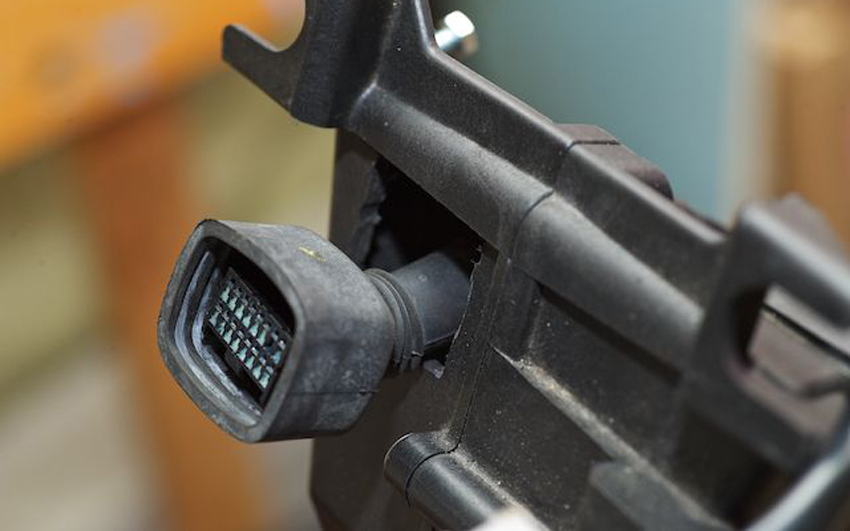
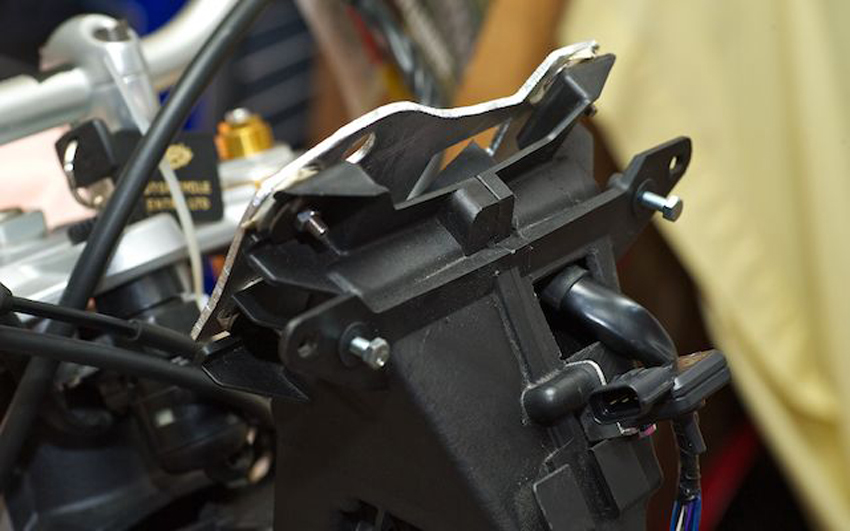
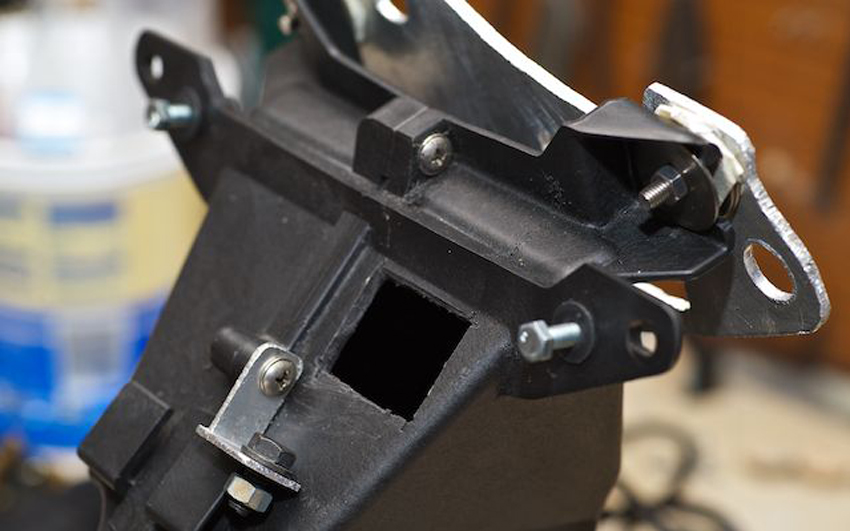
Next up was to cut a couple of holes in the bikini fairing mount so that the loom that attaches to the speedo could, er, attach to the speedo! This was a quick job with the Dremmel. As I mentioned previously this routing means the speedo sits as close as possible to the bikini fairing mount which looks much better than my original idea of raising the mount at least 20mm and having the loom bend sharply behind. I wasn't happy about having this bend in terms of possibly shortening the life of the loom at that bend and also the loom would have been much more visible and therefore untidy. Not the look I'm after.
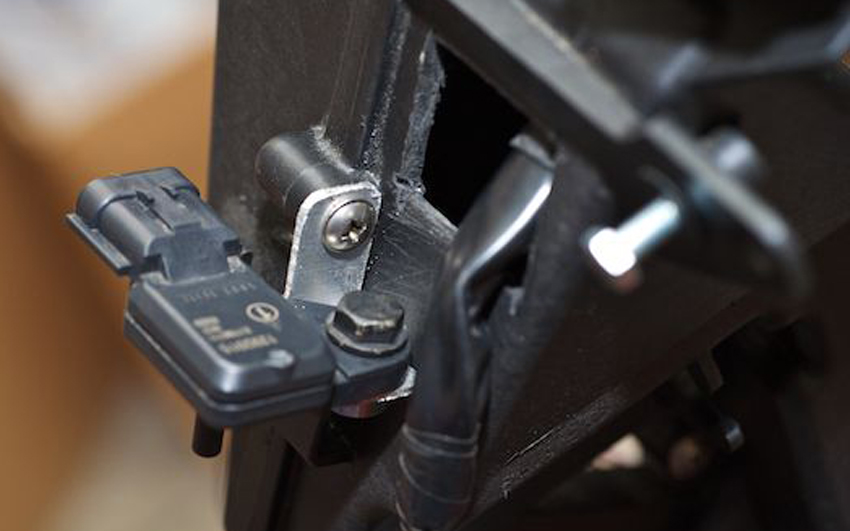
Last job of the day was to make a small aluminium bracket to hold the air pressure sensor that sits in the nose of the Daytona above the lights. I was lucky that I could mount it in the same place on the new bikini fairing mount. This was made out of an L shaped piece of thin aluminium also kicking around the garage. I think I found it in a van I hired some years ago. Never throw anything away me! Drives Mrs Ruby Racing nuts! I'll probably paint this when I paint the speedo mount, but once the bikini fairing is in place it will be completely hidden.
Not sure what I can do next. Probably fit the longer throttle cable and do some cleaning. We'll see what the arm allows.
If you would like to receive an email update when the next instalment is published then please email me at rubyracing@hotmail.co.uk putting "Project Daytona Street Updates" in the subject box. Don't worry I'm not going to spam you, you will only receive an email whenever I update this site.
Build Page: 1 2 3 4 5 6 7 8 9 10 11 12 13 14 15 16 17 18 19 20 21 22 23 24 25 26 27 28 29 30 31 32 33
*
 |
 |
 |
 |