
Build Page: 1 2 3 4 5 6 7 8 9 10 11 12 13 14 15 16 17 18 19 20 21 22 23 24 25 26 27 28 29 30 31 32 33
Day 19 - 8-5-10 - When I finished working today I stepped back to see what I had done. Not a great deal really! I put the Street Triple throttle cable on and the black cam cover. Yup that's it! It was a bit involved though. To get at the cam cover I needed to undo the throttle cable, but I could only do that by removing the injector assembly. This wasn't a problem, because as I said I had to change the throttle cable anyway. Bit of a bad design to have to remove the injectors though. On my GSX-R1000 K6 race bike you only have to lift the tank and the cables attach at one end of the injectors and are above the line of the frame. Dead easy and quick.
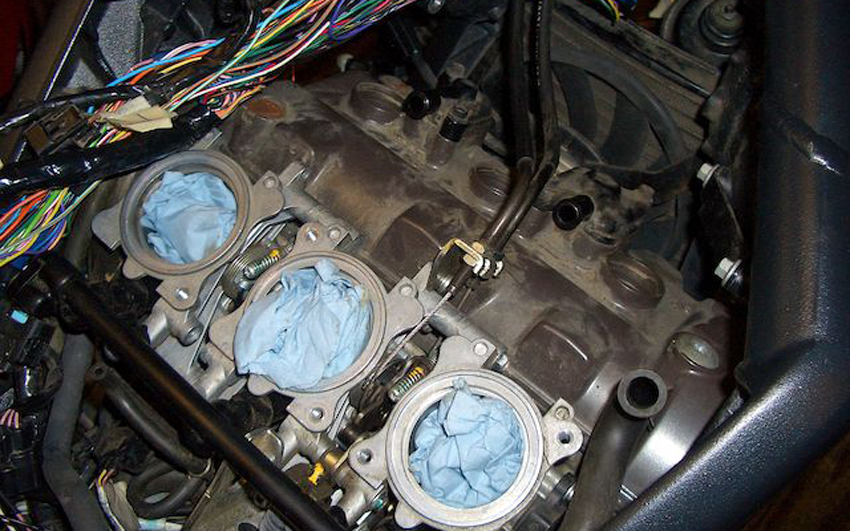
Getting the injectors off was a bit of a pain in the rear also. The injectors slip into rubber tubes which attach to the head. The fit is snug and then they are held in place with Jubilee Clips to keep them there. Now these are undone and done up by attaching a 3mm Allen Key to the screw that tightens them up. The one on the right is OK but the one in the middle is very hard to see. Luckily I have a bendy screwdriver so I got to it. The one on the left couldn't be got at with the bendy screwdriver because of the angle of the screw. So I had to undo that one with an Allen Key. As it was such a tight fit I could only turn the key about an eighth of a turn and then had to take it out and put it back in for the next turn. All this with only being able to get my fingertips on the Allen Key. Man that took some time and some swearing.
Then I tried to prise off the injectors, but they wouldn't budge. I thought it was because I could only use my good arm, so struggled for a while before undoing the Jubilee Clips some more. Ahhh. That did the trick. Off they came. Then I removed the air bleed hoses on the top of the cam cover. After that I attacked the cam cover. Only six bolts holding this on, most of which were rusty (after approximately 5,000 miles from new. That's a bit crap). I cleaned and painted those with some exhaust paint. Then I removed the air bleed valves to put them in the new cam cover. They were a tight fit in the original cam cover, but not so tight in the new cam cover. Hmmmm. Hope that won't be a problem. They're not going anywhere though, as they are held securely in place. I had bought a new cam cover gasket to be on the safe side, although the original would probably have been fine.
I changed the cam covers because I really dislike the golden brown colour of the original. I got hold of a new cam cover off eBay and it cost me the grand total of three quid! I checked with my dealer. A new one is about a hundred and thirty pounds. I think I was the only bidder and it was a garage that was selling it off. Guess not many people need new cam covers. The side casings are also going to change. I'm hoping I can just use paint stripper for those and then just leave an unpolished aluminium finish.
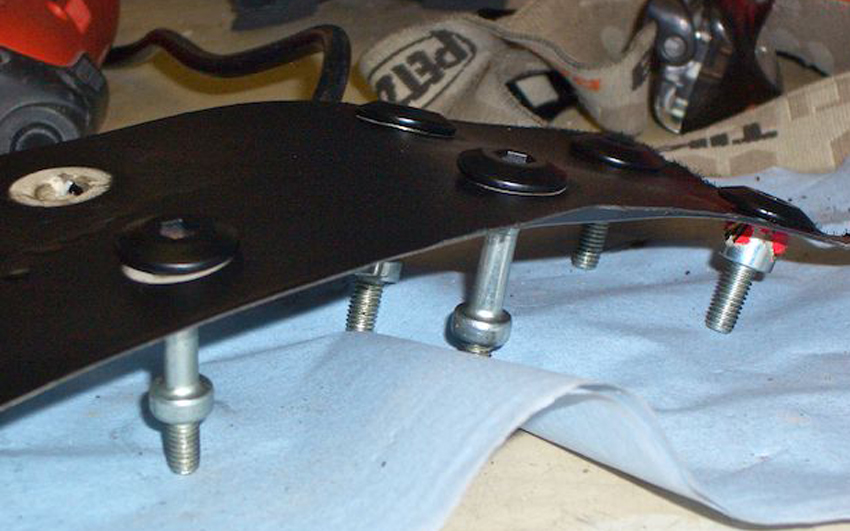
So apart from a bit more measuring up of the front bikini fairing mount, that's all I did. Can't believe it took about 6 hours! Still it was an enjoyable 6 hours and nice to be able to do some spanering again.
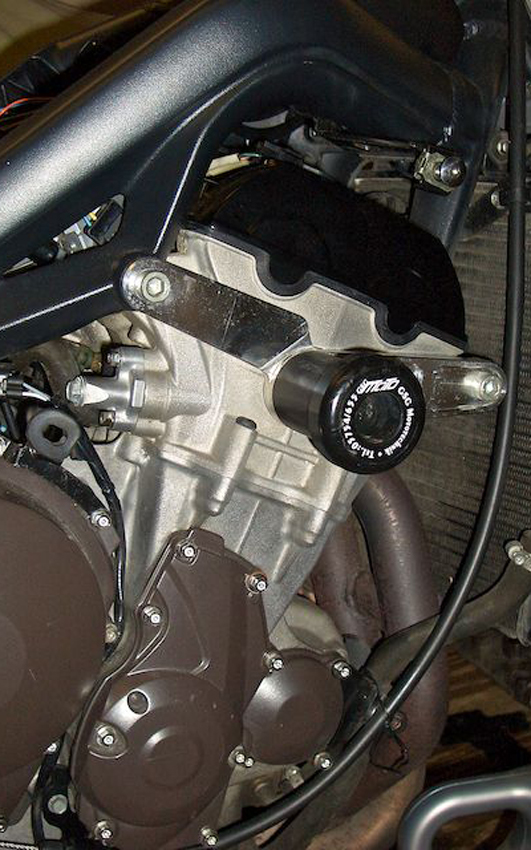
New cam cover in place.
If you would like to receive an email update when the next instalment is published then please email me at rubyracing@hotmail.co.uk putting "Project Daytona Street Updates" in the subject box. Don't worry I'm not going to spam you, you will only receive an email whenever I update this site.
Build Page: 1 2 3 4 5 6 7 8 9 10 11 12 13 14 15 16 17 18 19 20 21 22 23 24 25 26 27 28 29 30 31 32 33
*
 |
 |
 |
 |