
Build Page: 1 2 3 4 5 6 7 8 9 10 11 12 13 14 15 16 17 18 19 20 21 22 23 24 25 26 27 28 29 30 31 32 33
Day 40 - 15-2-14 - I've decided to redesign my speedo bracket. Although I've been trying to mount up the bikini fairing, that's mainly intended for the race bike set up. For the road I'm planning on a large AMA race bike type number board, incorporating a small headlight to keep things legal and for practical night time use, although I hardly ever ride at night unless I'm in Europe. I need the speedo to be much closer to the yokes, well as close as possible, so the gap between forks and number board is not too great. That would look well nasty!
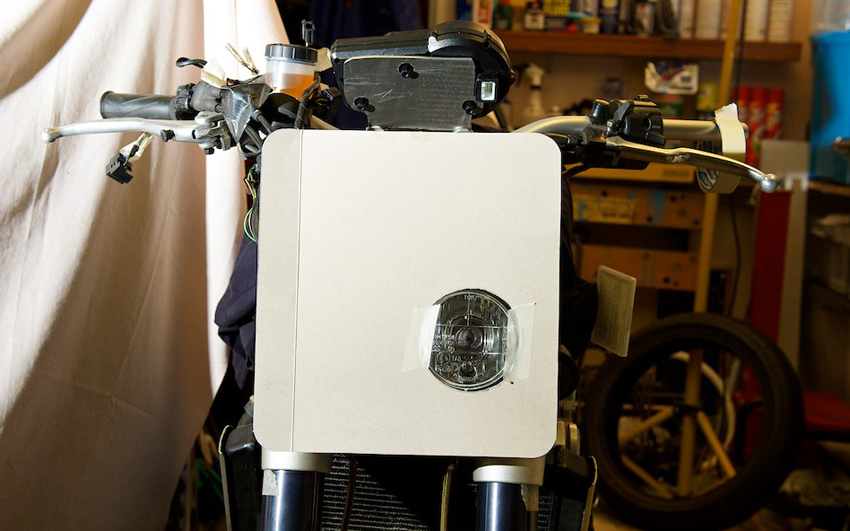
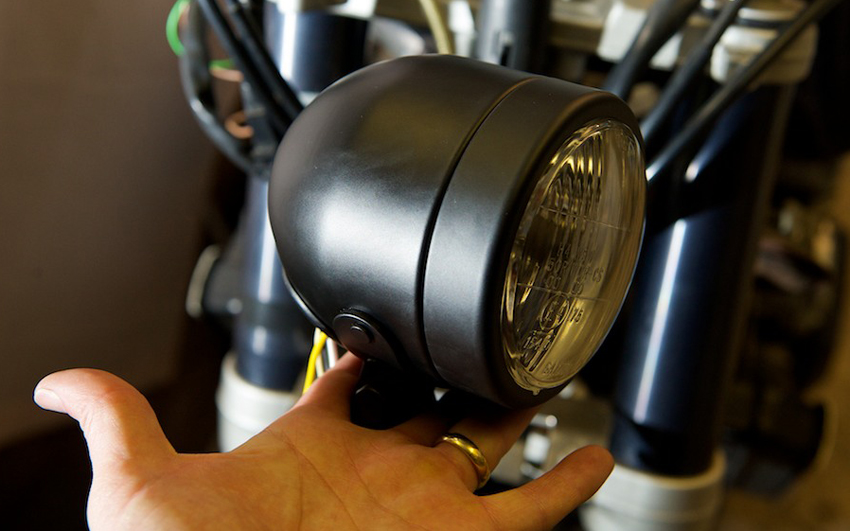
I did buy some headlights from a B Whizz scooter as they were nice and small. I was just going to use one of them, however I've rejected them as one light is only 10 watts! I'd be lucky to see the white line in front of me, let alone the road ahead. So I've bought a single Dominator headlight, which is a dual filament bulb 60/55 watt. It's only 90mm wide so about the smallest I could find. I didn't really fancy projector headlights for two reasons. First I wanted a more retro look and second, you have to have two, one for dip and one for main. I just want one light. I'm going to have to fabricate a different rear section to the light as the one it comes with is too deep.
Last Tuesday I made my new wheel spacers at college. Finally I had the chance to fit them. I had taken off 1.5mm from the brake side and increased the spacer on the sprocket side by the same amount, so in theory my wheels would now be perfectly in line. Wrong! I kept getting different figures with the worst showing the wheels out of alignment by 5mm! What is going on? I had a think and realised that my straight edges may not be sitting in exactly the correct position. I rectified this and measured again. Nope, still out.
So I went back to my first spacers and checked again. Much better. In fact heaps better than originally. The wheels were only out of alignment by 0.2mm! That's pretty damn close. I rechecked three times and kept getting the same result. To further check things I took the rear wheel out and refitted it. Same results again, in fact the alignment difference was now down to 0.14mm. I'm not going to get any better than that.
The only other thing I did before fitting the altered spacers mentioned in my first paragraph was to undo the front wheel and the yokes and twist the front wheel to the right, as I felt the left handlebar was further forward than the right. But this shouldn't effect the alignment front to rear surely? Whatever, I'm happy again.
I've been in contact with Harris Performance and they've given me a reasonable quote to CNC a rear brake caliper bracket. Once I've got another set of rear wheel spacers made and check the wheel alignment is still bang on, I'll get my drawings done for the bracket and get that ordered.
I've borrowed a laser from my mate Shaun and it's looking like the rear sprocket is offset by 2mm. My initial measurements suggested 2.5mm, however since then I've had the tyres removed so I can get a much more accurate measurement and I've found that the KTM sprocket is 2mm further out than the Fazer wheel. I'm glad the laser seems to back that up, as it also confirms that I've got the rear wheel central. However I'm surprised it's only 2mm offset as the Fazer has a 160 rear tyre, but the KTM a 180.
What is interesting is that the width of the Fazer tyre (a 160) at it's widest point is actually 170mm, whilst the KTM is 187mm at its widest point.
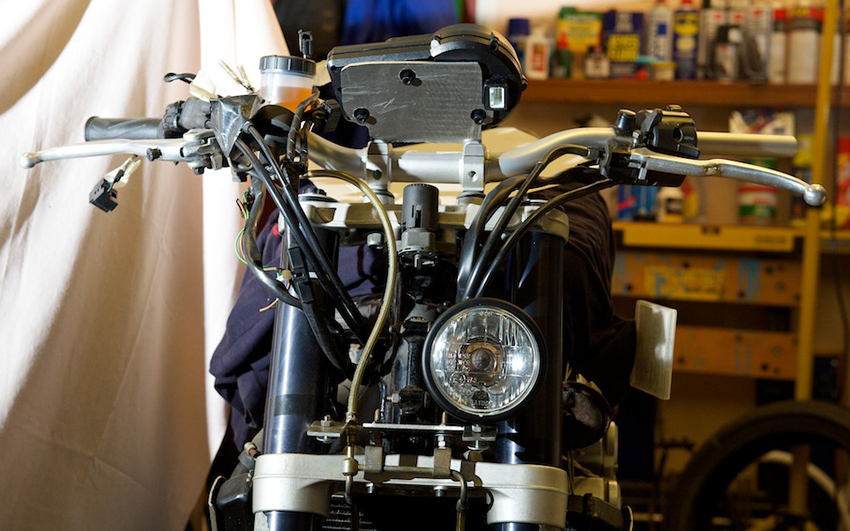
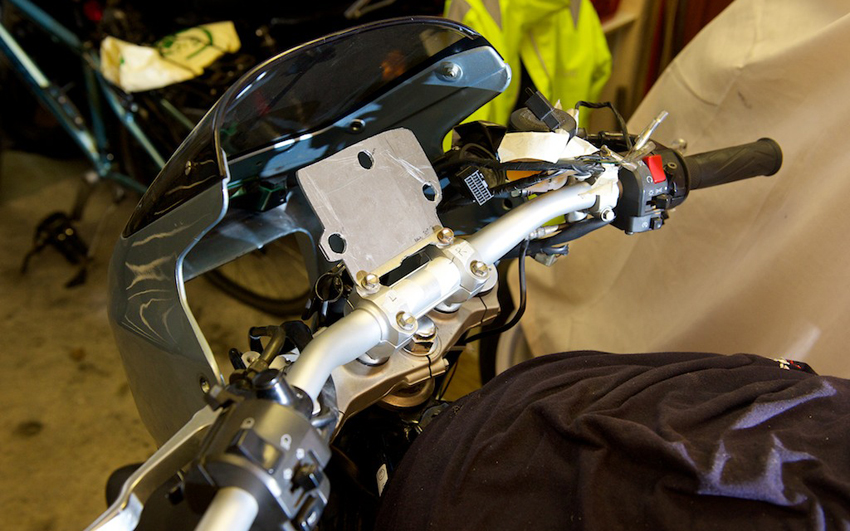
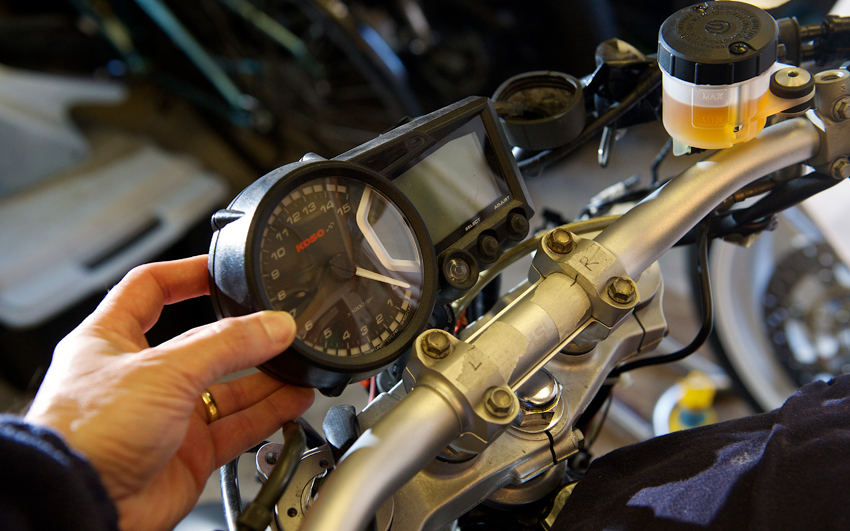
Day 41 - 23-2-14 - I made a new speedo bracket at college last Tuesday evening. However even before making it I'd redesigned it! Originally I thought I would mount it above the top yoke using the M10 bolts that hold the handlebar clamps in place. Then I realised this would look very nasty and decided to use the same bolts, but mount it under the top yoke.
When I fitted it it made the speedo stick out too far forward. So I redesigned it yet again! This time I used the M8 bolts at the front of the top of the handlebar clamp. This gets the speedo further back, however it does make it harder to read as it's closer to the rider. Think I'll just have to live with that as I don't want my number board mounted too far in front of the forks. In fact I want it as close as possible.
There will have to be some compromise as I need to fit the headlight behind as well. The single Dominator light I bought has a very large rear cover. Luckily this can be removed, so I plan to fabricate a different rear cover that will allow me to mount the headlight as far back between the forks as possible.
I also made a new wheel spacer for the rear wheel disc brake side. Same dimensions as the one before last. After fitting I found that my rear wheel was too far to the left by 0.5mm. I think that's an acceptable amount. Seems like I've been doing nothing but make rear wheel spacers! Hopefully That's going to be the last of it until after the initial shake down runs. Well it will have to be as I only have two more weeks left on my college evening classes. I intend to try and get on the next one, but that wont start again until September, so I'm going to have difficulty making certain parts very soon.
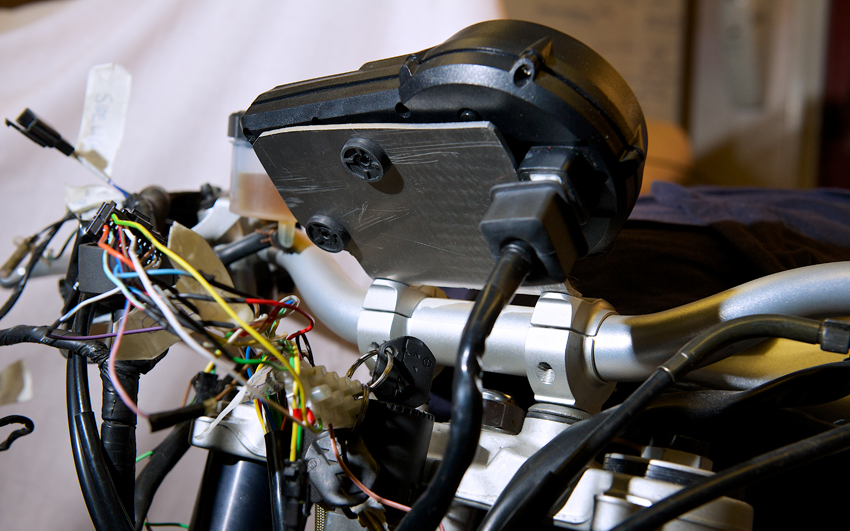
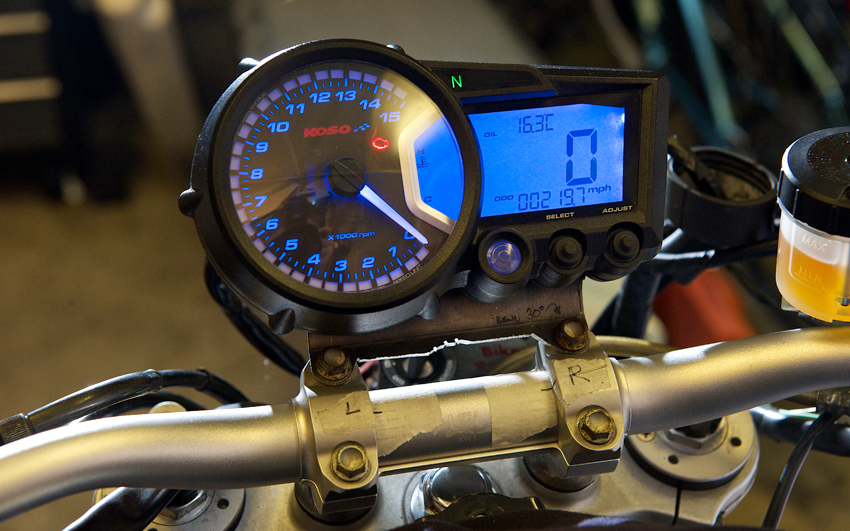
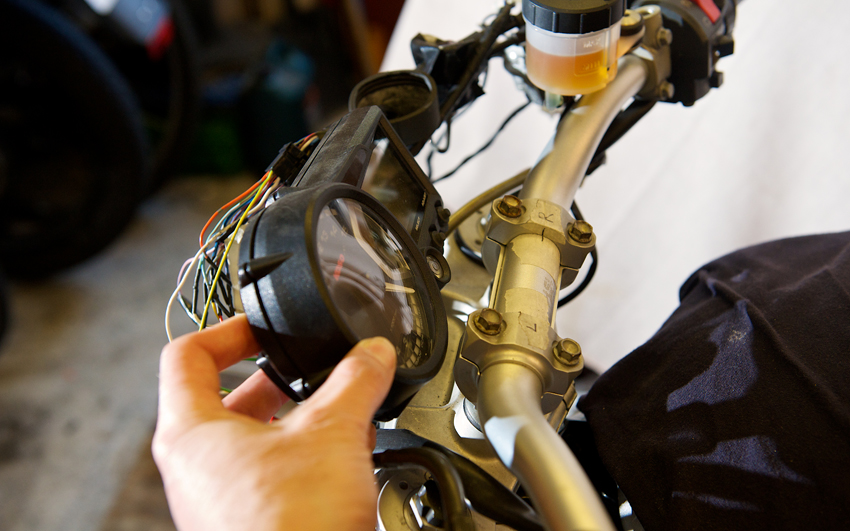
Day 42 - 2-3-14 - Spent some time getting the Koso speedo temporarily wired up to check it works and in readiness for a road test (hopefully in a couple of months time). I didn't want to cut any connectors off just yet so have jammed the wires from the Koso into connector for the OE speedo. Also made a note of what wires connect to which to save time in the future.
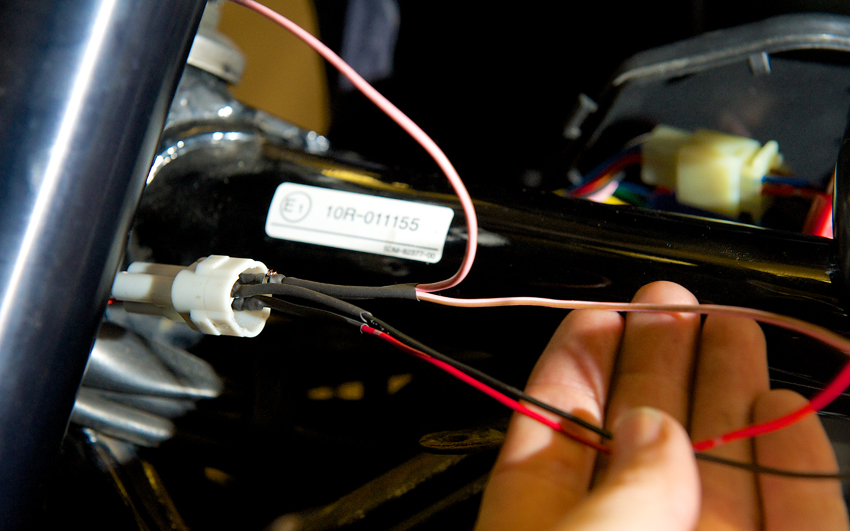
The wiring from the OE speedo sensors shows two wires go direct to the speedo whilst the Black/Blue goes to the pick up coil. It's only a theory at this point, which I've mentioned earlier, but I reckon that the reason those who have fitted different speedos in the past get error codes displayed on the rev counters is because they lose this connection to the pick up coil by wiring the speedo sensor only to the after market speedo.
I'm hoping to avoid this issue by maintaining the connection to the pick up coil by splicing in an extra wire, so the wire from the speedo sensor goes to both the pick up coil and the Koso speedo. Only a road test will tell if this works, which will hopefully happen within a month or two. Even if my theory is correct I may be messing things up because I'm using the KTM wheel speed sensor and this may be calibrated differently. We'll see, all part of the fun of the custom build.
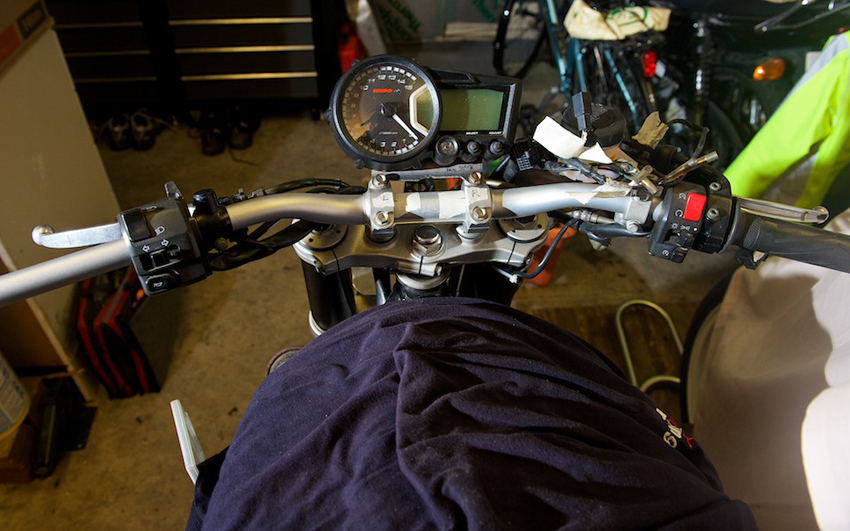
Day 43 - 22-3-14 - I don't believe this! I'm onto my third choice of place to mount the speedo. I don't like it mounted on the handle bar clamps. Too high for my liking and also really hard to get at the ignition key to turn it on and off. So decided (for the moment LOL) that I need to mount the speedo on the ignition switch mounts on the top yoke.
That means the ignition key barrel has to move. Looks like I'm going to have to mount it like the chopper builders do, somewhere under the top rails of the frame. I'm thinking in the area that the airbox currently resides. That will be going once I get the pod filters fitted, so nicely tucked away under the tank perhaps?
Need to take the top yoke to a fabricator to get the bolts out so the ignition switch can be removed. The manufacturers use bolts which have no heads to deter thieves. I think the way they normally get them removed is to weld a nut onto the bolt so you can get a spanner on them.
Ordered my custom made drive sprocket with a 2mm offset from Talon Engineering, together with a rear sprocket for the KTM wheel. This also has to be custom made as they don't make them with 50 teeth as standard. The OE KTM rear sprocket is (from memory) only a 43 tooth. I've ordered them in a 525 pitch, even though the standard Fazer is a 530, to help with any clearance issues, although I'm confident there shouldn't be any. Once fitted I'll order a chain as I'll have a good idea how many links I'll need.
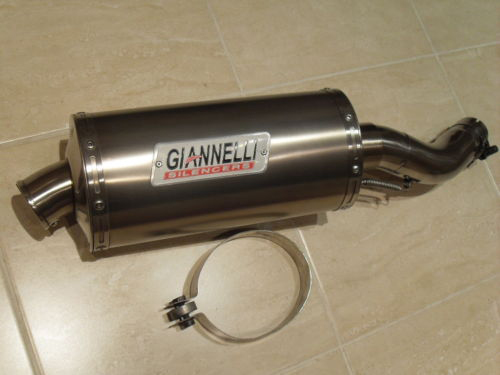
My mate Shaun is designing a rear brake caliper bracket on his CAD software at work. Once that's finalised I'll be getting Harris Performance to make me one on their CNC machine. Things are at a bit of standstill until I get the bike rolling again. This is phase one and once I know the bike rides OK with the new front and rear end I'll be moving on to phase two, which will be fitting a new Venom (cheaper Motad) stainless exhaust system, pod filters and a carb rejet to match. I've also got a rather nice stubby Gianelli can to fit. It was made for a ZX-10R, but it has the same inlet size as the standard pipe so should go straight on. If not some modifications will be made!
If you would like to receive an email update when the next instalment is published then please email me at rubyracing@hotmail.co.uk putting "Project Ruby Racer Updates" in the subject box. Don't worry I'm not going to spam you, you will only receive an email whenever I update this site.
Build Page: 1 2 3 4 5 6 7 8 9 10 11 12 13 14 15 16 17 18 19 20 21 22 23 24 25 26 27 28 29 30 31 32 33
*
 |
 |
 |
 |