
Build Page: 1 2 3 4 5 6 7 8 9 10 11 12 13 14 15 16 17 18 19 20 21 22 23 24 25 26 27 28 29 30 31 32 33
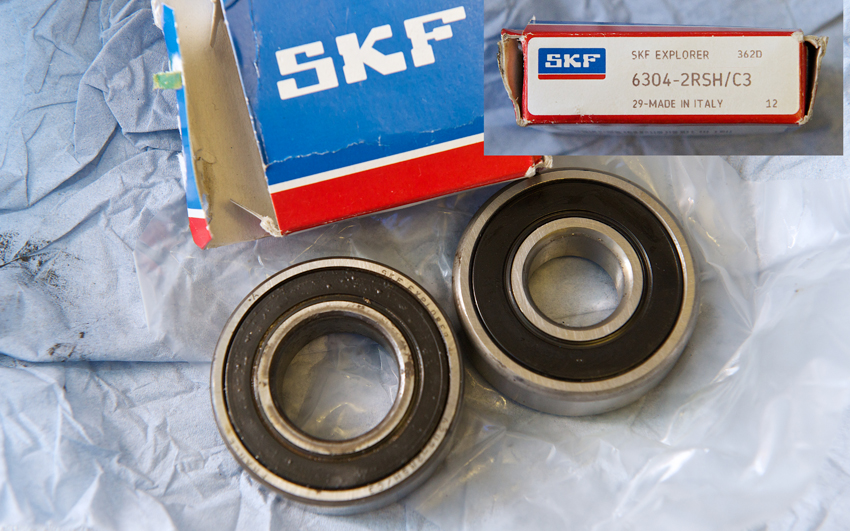
Day 29 - 15-12-13 - Before I make the brake bracket I thought I should get the rear wheel properly sorted, otherwise my brake bracket measurements might be out. First thing to do is purchase some new wheel bearings. There are bearings in the sprocket carrier which I can leave in as they had spacers in and the ones I made replace them. In order to get the correct size replacements with a 20mm inside diameter, not 25mm as per the KTM, I needed to get the old ones out. In the past I've used a drift and hammered them out. I wasn't able to do that with these as the spacer that sits in the hub couldn't be pushed aside far enough for the drift to sit on the bearing.
I had bought a cheap blind bearing puller set off eBay. I tried with that with no success. It just kept slipping out. Took it to my evening class and no success there. Looking at the KTM service manual I saw there was a special tool to remove them. So I went to my local KTM dealer to see if I could rent the special tool. They didn't have it, but the technician took my wheel away and within three minutes came back with the bearing removed. Thanks Mark. I felt a right numpty so asked to see how he did it. He had the same blind bearing tool as mine, except it was a Snap On product. I could see the difference in quality and design compared to mine and understood why my version didn't work. I didn't expect mine to last as long as a premium product, but I did expect it to actually work. I bought cheap as I would rarely use the tool.
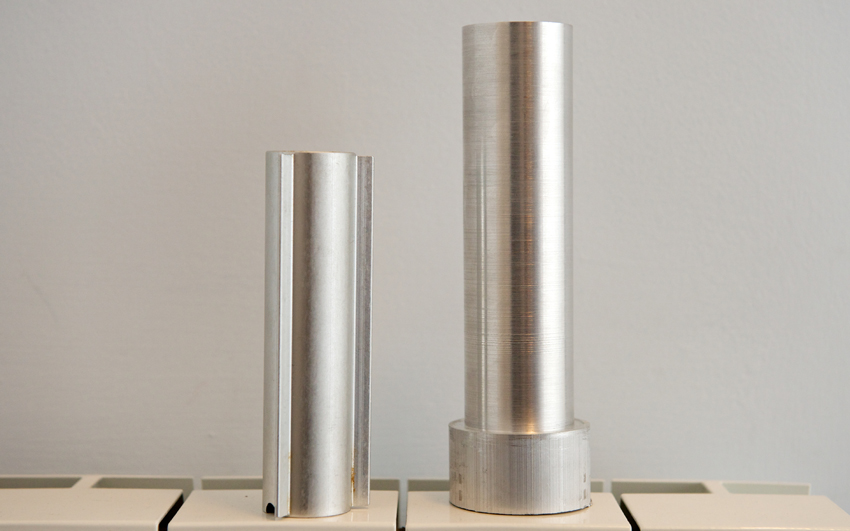
Old bearing on left, new one on right.
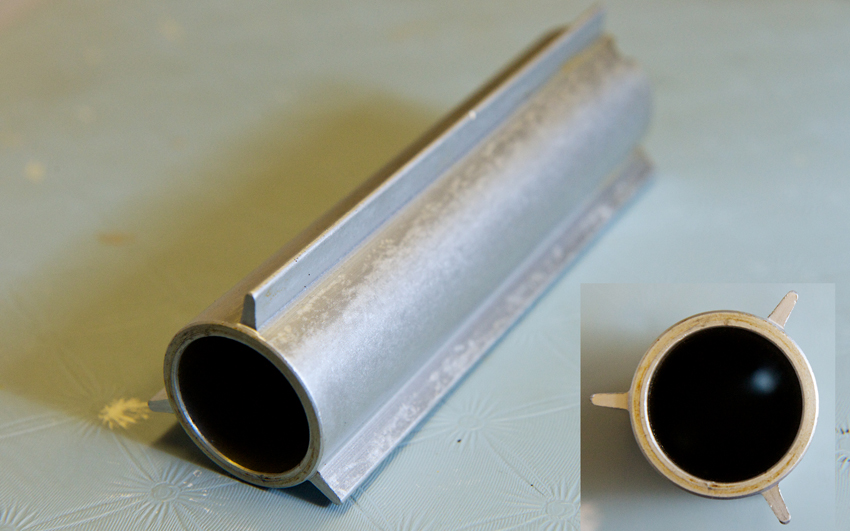
I could now see why I couldn't push the hub spacer aside. It had three protrusions running almost the length of the shaft which I assume are there to keep the spacer central when fitting the axle. After some thought I've come to the conclusion those protrusions aren't really needed as once the wheel is torqued up for the first time it should stay in place when the axle is next removed. I haven't seen them on the other spacers I've encountered in the past so I reckon I'll be OK. If not I'll get some tabs welded on at each end.

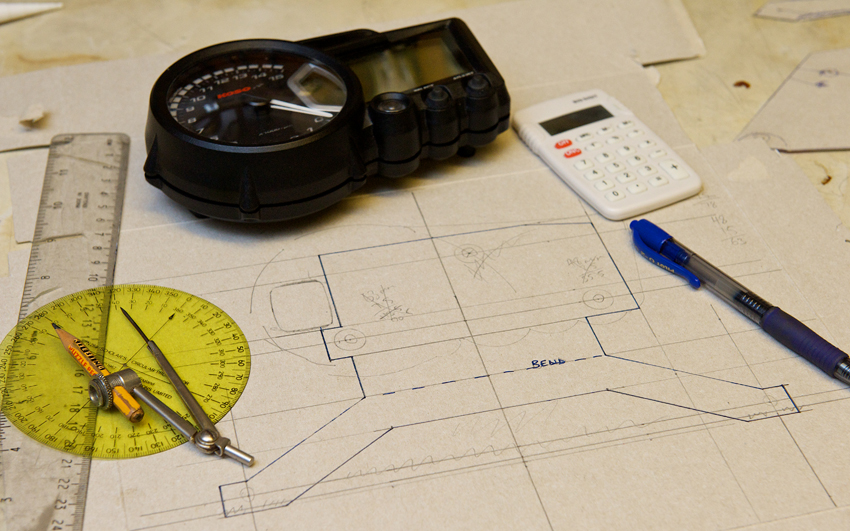
Next up I started on the bracket to hold the Koso speedo. My first effort was pants as I got a measurement wrong. So I had to start again with a new design and another piece of 3mm aluminium. Got the second one correct. Will get it bent on the the huge bending machine at college on Tuesday night. Wanted to press on with the upper fairing mounts, which are causing me a bit of a headache it has to be said, but without the rear wheel fitted the bike isn't sitting correctly and I need to make sure I get the angle of the fairing correct and therefore the brackets.
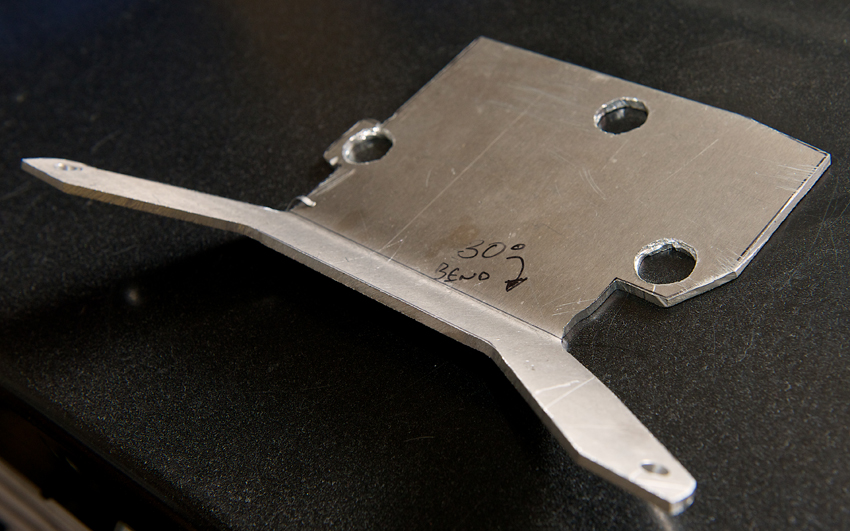
Day 30 - 17-12-13 - Got my speedo bracket bent in the bending machine. Still needs finishing off, which I'll do once I know it fits OK.
Then I set to on making a new rear wheel hub spacer. This time I had the correct grade of aluminium for the job. I had purchased a metre long length of 50mm thick round bar made of 6082 T6 aluminium. This is often referred to as aircraft specification so should be tough enough for the job.
It is certainly harder than the stuff I had been using up to this point. You can feel the difference on the lathe. As such it was taking me longer to work the metal. So much so that I didn't get the job finished in time. I really hate that. When I start a job I like to finish it. As that was the last class before Christmas I have to wait until the 7 January before I can finish it. Well, I have to work over Christmas so I wont get much chance to work on the bike anyway.
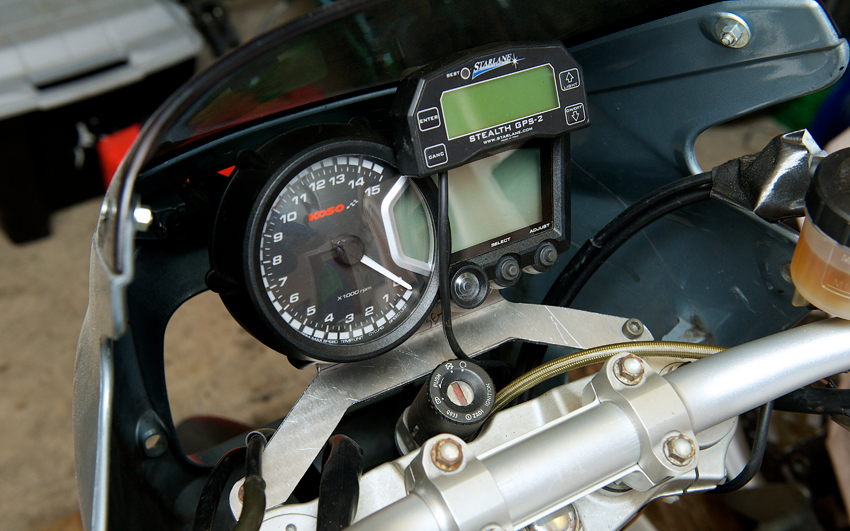
Day 31 - 21-12-13 - I had a couple of hours spare so I worked on the speedo bracket for the Koso speedo. I tidied up all the edges by making them rounded, so no sharp edges. Once finalised I'll get some sand paper on it to really smooth things off. I'll wait until I've done some extensive test riding first to make sure it's strong enough then it'll be painted probably. Looking at it I'm wondering if it will be strong enough for the job. It's only held in place on the top yoke with a couple of M6 bolts, so may be subject to too much vibration.
Also not happy with where I've mounted the Starlane GPS-2 lap timer. I had planned to mount it in the same place I have done, only with the face on the same plane as the the speedo. Unfortunately the low height of the screen has prevented that. That said I haven't done the top fairing mount brackets yet, so I may find that I do in fact have room. If so then I could hide the power cable for lap timer. Where it is at the moment it would need too tight a bend in the wire and that would just end up breaking.
Next job will probably be to cut off the wires to the Yamaha ignition key and then temporarily fit them to the KTM ignition key to check that works. Actually more to check I've deciphered the wring diagram correctly! The Yamaha ignition barrel is knackered as it takes about 20 attempts to turn the key. Plus removing the KTM ignition would be a pain.
If you would like to receive an email update when the next instalment is published then please email me at rubyracing@hotmail.co.uk putting "Project Ruby Racer Updates" in the subject box. Don't worry I'm not going to spam you, you will only receive an email whenever I update this site.
Build Page: 1 2 3 4 5 6 7 8 9 10 11 12 13 14 15 16 17 18 19 20 21 22 23 24 25 26 27 28 29 30 31 32 33
*
 |
 |
 |
 |