
Build Page: 1 2 3 4 5 6 7 8 9 10 11 12 13 14 15 16 17 18 19 20 21 22 23 24 25 26 27 28 29 30 31 32 33
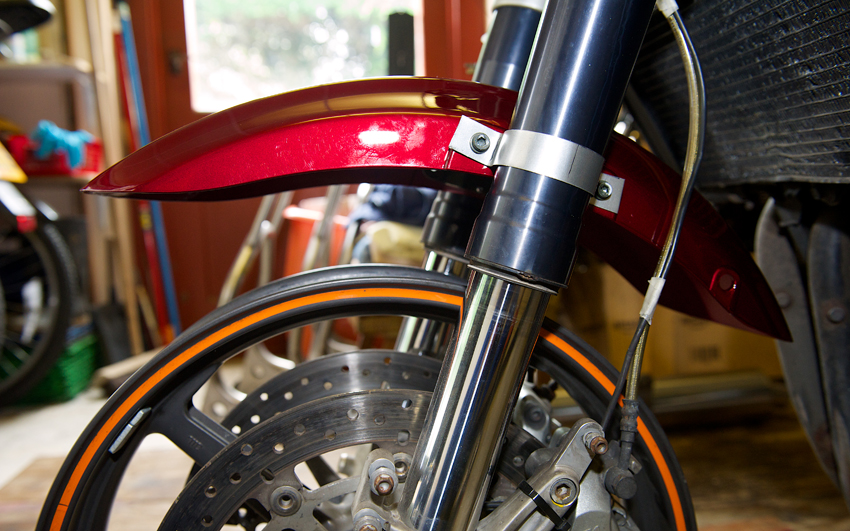
Day 48 - 27-7-14 - Had a go at making some brackets to mount the front mudguard (from a Kawasaki ZRX1200) to the fork tubes. Seemed to work OK however I am doubtful that they would stay in place once on the move and I'd worry about the mudguard dropping onto the tyre. As I need to protect the fork tubes from damage I need to make some protectors for them anyway, so I think I'll combine the two into one item. The protector parts will follow the same design as the mudguard a sort of boxy shape with rounded edges so the whole thing works together.
I've temporarily fitted the GSXR-1000 K6 footrests using the existing mounting points on the frame, with the lower hole of the footrests in the top hole of the frame mount. The top hole is held in place with cable ties and is just for a shakedown run of the new front and rear ends. This makes the footrests about 20mm higher than standard and also moves them forward slightly, which will be kinder to my knees! You may remember I came to this solution as the other positions I tried hit the swing arm.
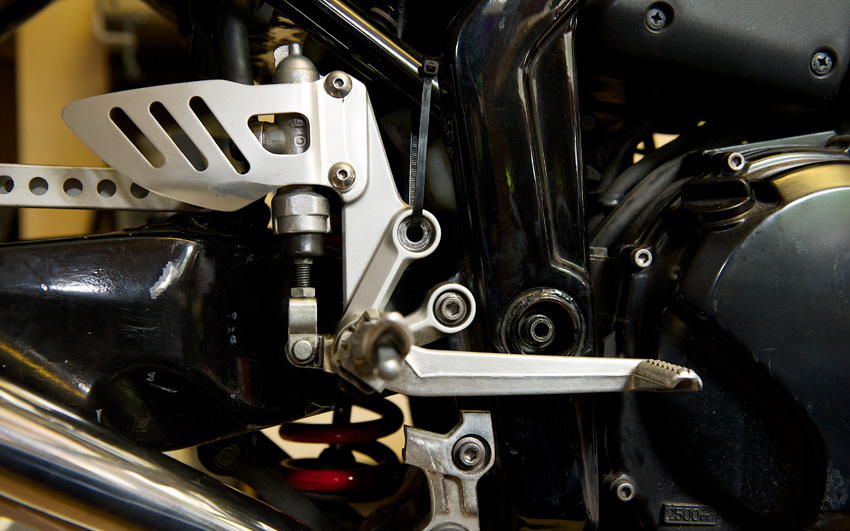
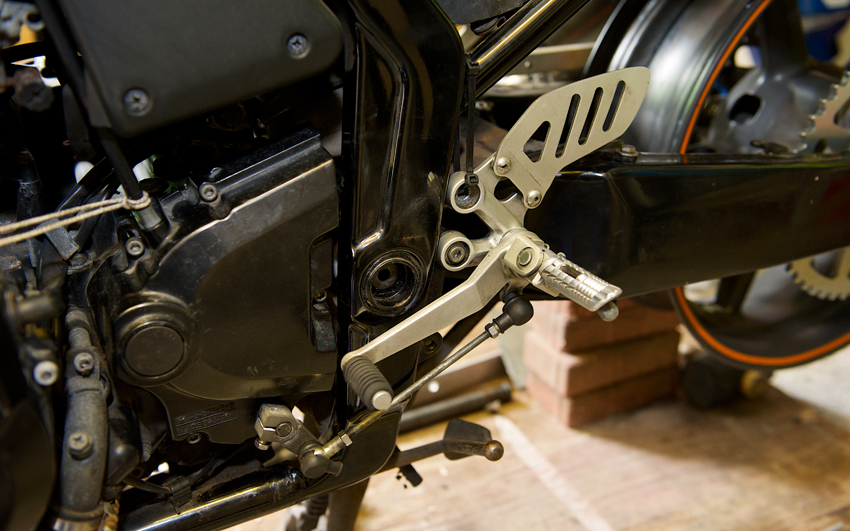
I cut the exhaust mounting bracket from the OE footrest. Not quite sure how I'm going to solve that problem. I may file down this part to make it look nice, or fabricate something myself. Still mulling that one over in my head.
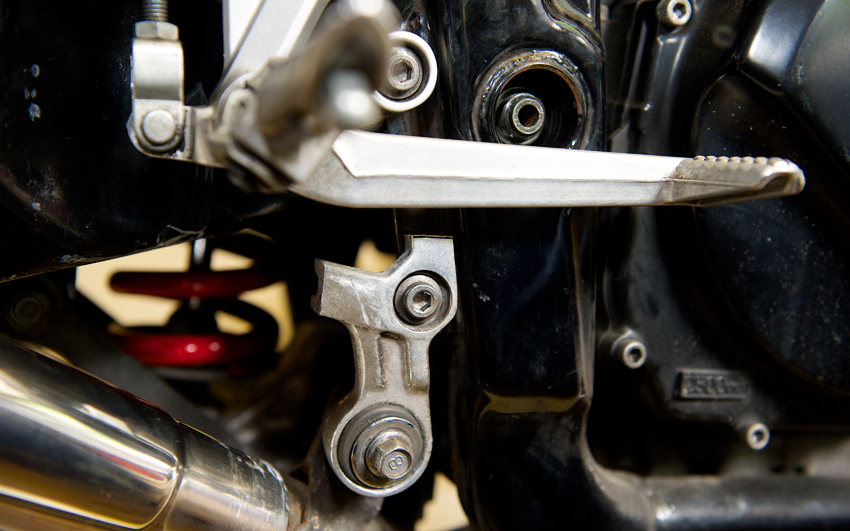
The clearance between the silencer and the swing arm is a little close, so not too sure if that is OK or not.
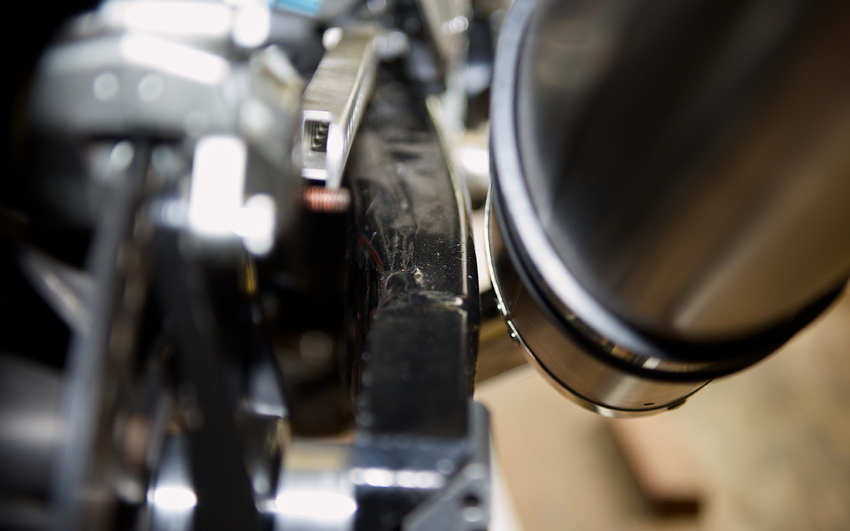
Got my new spacer made and now the caliper is central on the disc.
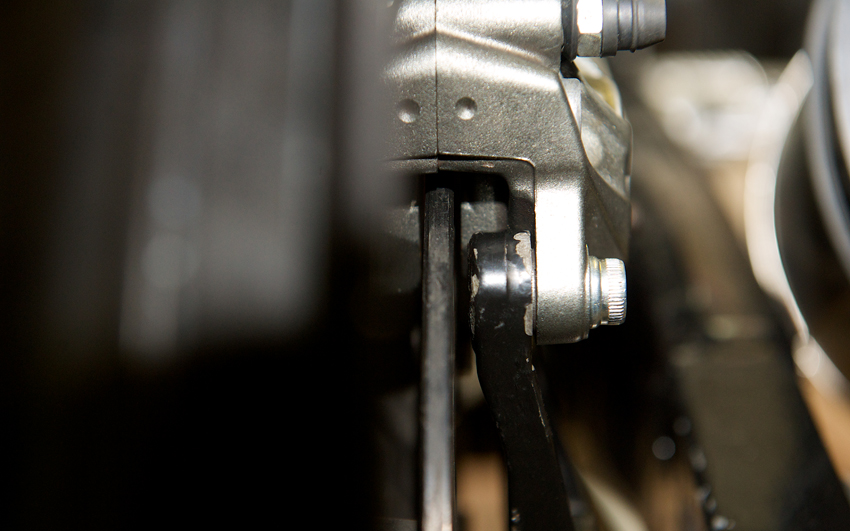
Day 49 - 7-8-14 - Made a bracket to mount the headlight. It's the smallest conventional bulbed light I could find and is only 90mm in diameter. Unfortunately it's a little deeper than I would like.
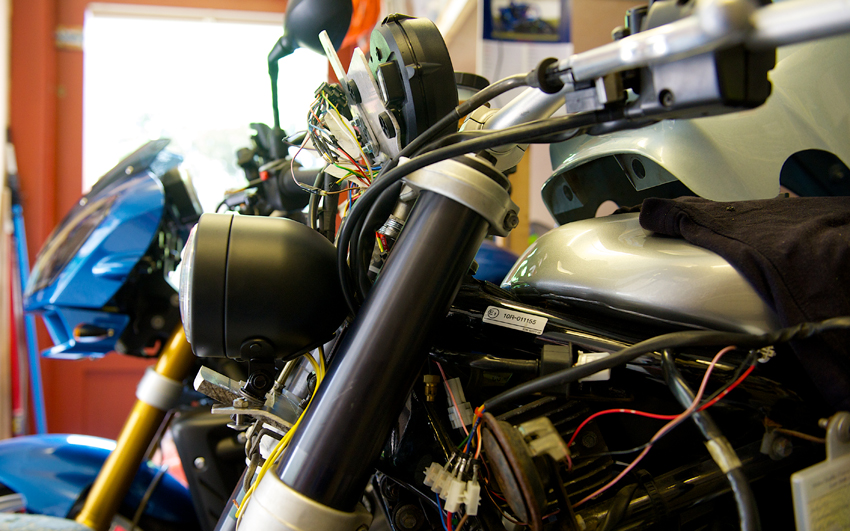
I had hoped to fit one light that would work with either the ZRX fairing or the number board. It's fine with the ZRX fairing as you can see, unfortunately it would make the number board sit too far away from the forks to look right. So I may have to look again at a light from a B Whiz scooter.
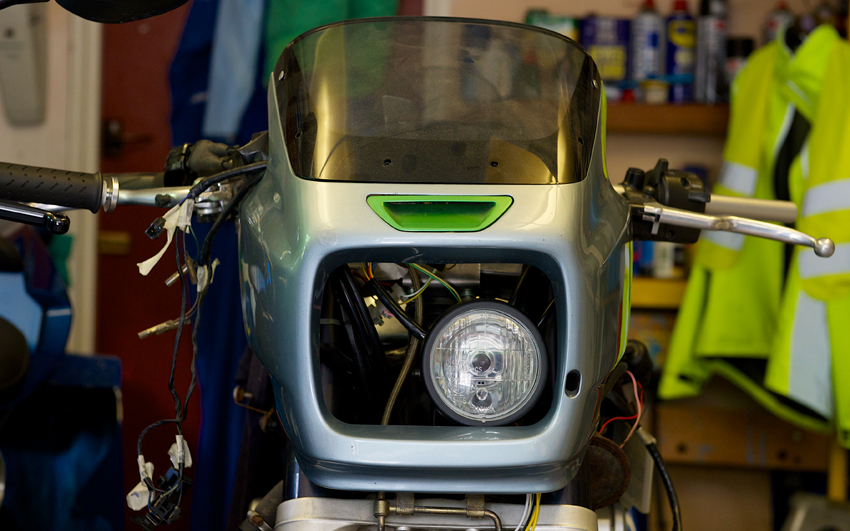
Day 50 - 9-8-14 - Finally got the rear wheel spacers sorted and everything is in line. So time to get the tyres back on and the bike rolling again. Took her outside to have a look at things. Unfortunately the back end sits very low. Took a couple of minutes to realise I needed to change the length of the dog bone links on the shock absorber. But why?
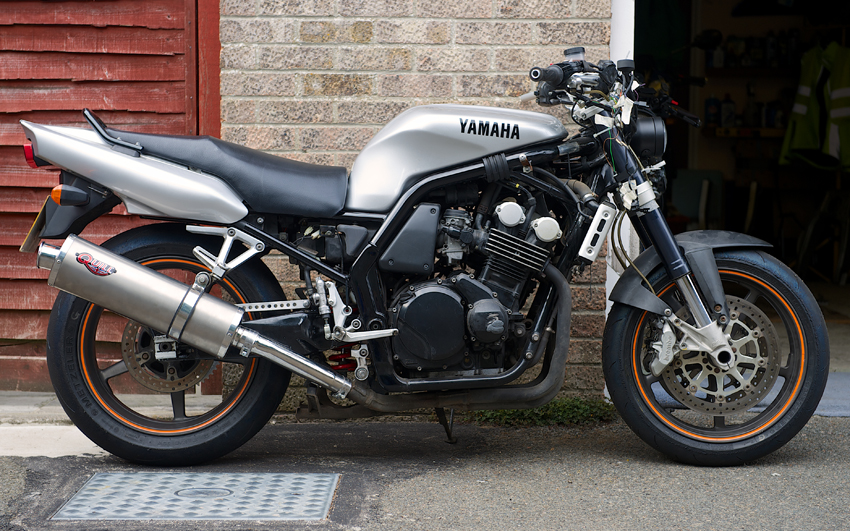
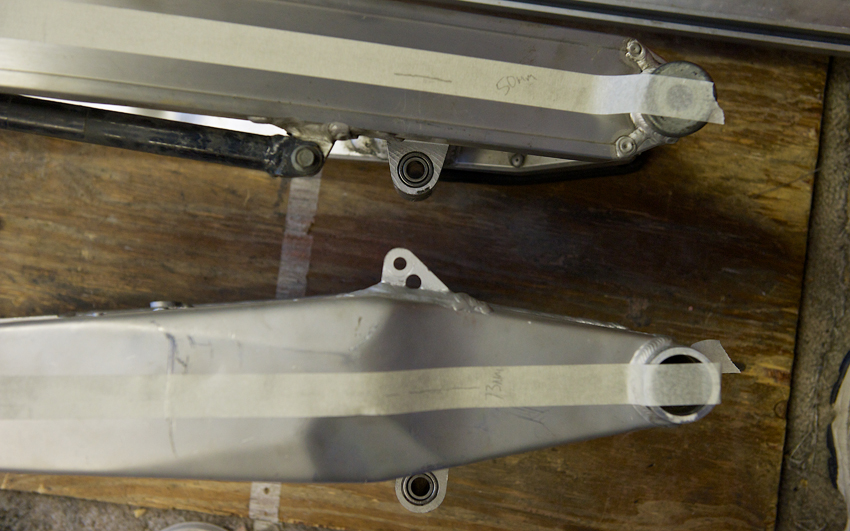
I was sure the swing arm was the same dimensions as the OE one. I still had the OE and knackered EXUP swing arm so I compared them closely. I could see that the EXUP linkage mounting holes were lower than the OE ones and when I did a rough measure it was lower by about 23mm.
The bolt hole centres of the standard dog bones are 140mm apart, so I knew I needed to make some shorter ones. I can't remember where I got the figure from, but I went for 115mm between linkage bolt hole centres. This raised the rear although when on the centre stand the rear wheel sat on the ground. So I thought this was too low.
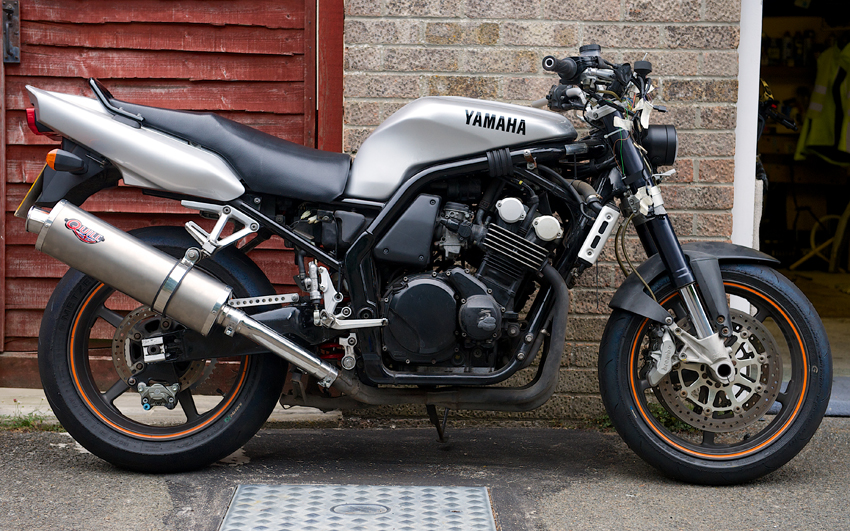
Tried again with a distance between linkage bolt hole centres of 130mm. This looked too low again. However with the new forks the front end may be riding a little higher than standard.
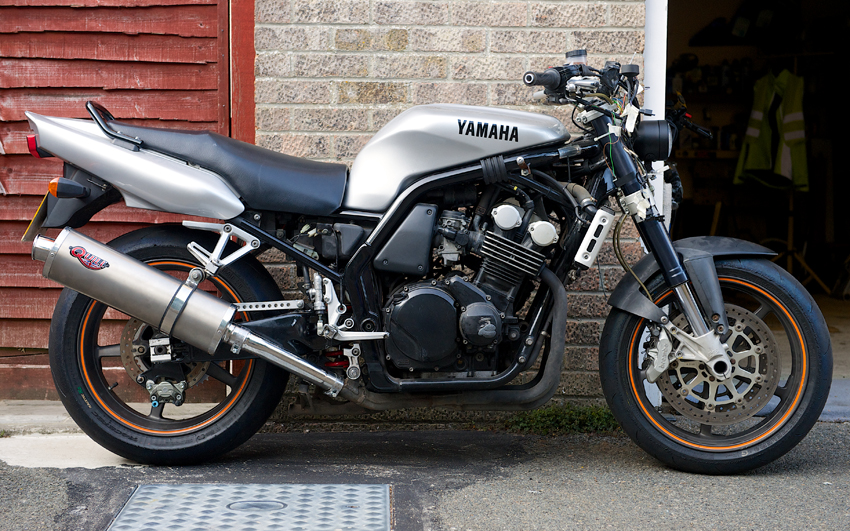
Day 51 - 17-8-14 - It was obviously somewhere between 115mm and 130mm. I tried to work it out mathematically using measurements between the three holes for the linkage and came up with a figure of 127.5mm. I decided to round that down to 125mm. The rear tyre only just touches the floor, so I'm getting closer. I'll try 120mm next. I should have taken a measurement of the seat height before ripping the standard bike apart. Too late now. Looking on line and the Fazers seat height is quoted as 790mm, so I'll see how close I can get to that.
As I was using the standard dog bone when fitting the rear sets the swing arm was too high and hitting the rear sets easily. Now that I am close to getting the swing arm at the right height it will hopefully mean I have a bit more room to play with with the foot rests and so I might be able to revisit my plan for adjustable rear sets.
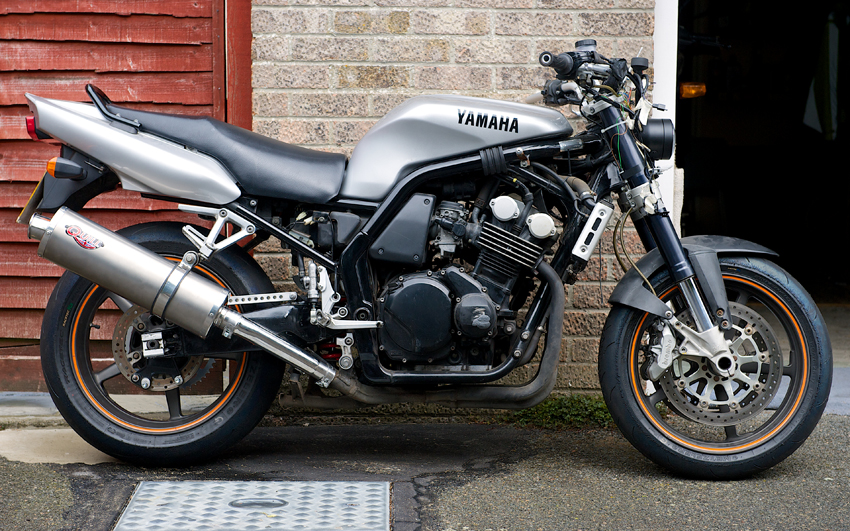
Pic below is with the 120mm dog bone.
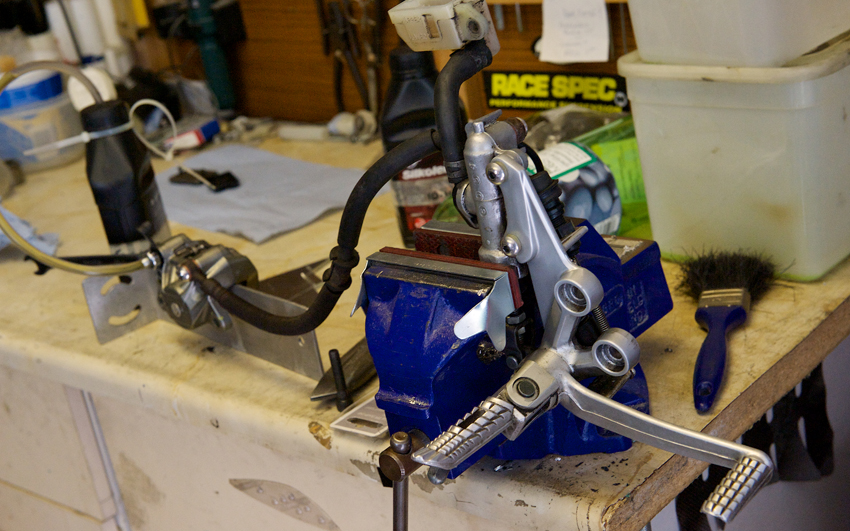
Day 52 - 13-9-14 - Time to get the bike safe to ride again. I'd bought a used rear brake hose for a fiver so I could join up the GSX-R1000 K5 master cylinder/foot pegs with the Brembo caliper. It was difficult to bleed it on the bike as it's not properly attached, so I put the master cylinder in the vice and put a couple of bits of metal between the brake pads.
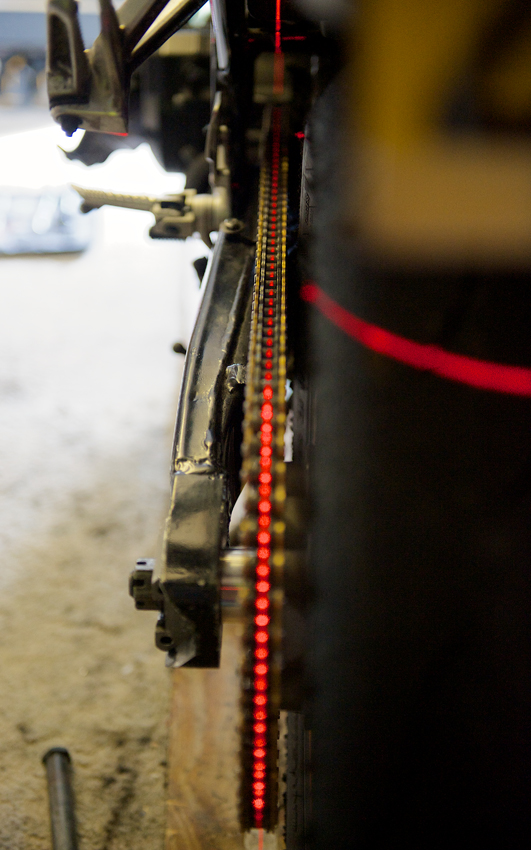
Whilst I still had my mates laser (thanks Shaun, will return it soon!) I double checked the chain run. All seems good there.
I had a good once over of the various nuts and bolts I've had undone and with tape holding the wires in for the speedo (not that the speedo part works at this stage!) and the ignition barrel taped to the top of the fuel tank, she was ready to roll again. I did a couple of runs in my lane to make sure the brakes were working, then it was out onto the open road.
All seems good. The motor is nice and smooth, the front Brembos are really nice and powerful. The forks are nice too, although bear in mind I have to stick to a 40mph island limit, so not really challenging them! Plus it's just a little shake down to see if the front and rear end work OK. Couple of niggles at this point. The KTM yokes have less offset, if that's the right word, possibly I mean less trail compared to the OE Fazer yokes. This means the yokes hit the radiator with hardly any turn of the handle bars. That severely limits the turning circle.
Couple of solutions spring to mind. One is to get new yokes fabricated, however that's going to cost a few hundred quid, so not keen on that. I might be able to lower the radiator so the yokes can turn more. Any thoughts anyone?
The other issue is a loud whine which increases with speed. I put the bike in neutral and it still does it and appears to be coming from the rear wheel. As I have brand new bearings in the wheels I doubt it's those. There is a bearing in the brake caliper bracket, so it could be that. There is also a massive bearing in the sprocket carrier and I think it's that.
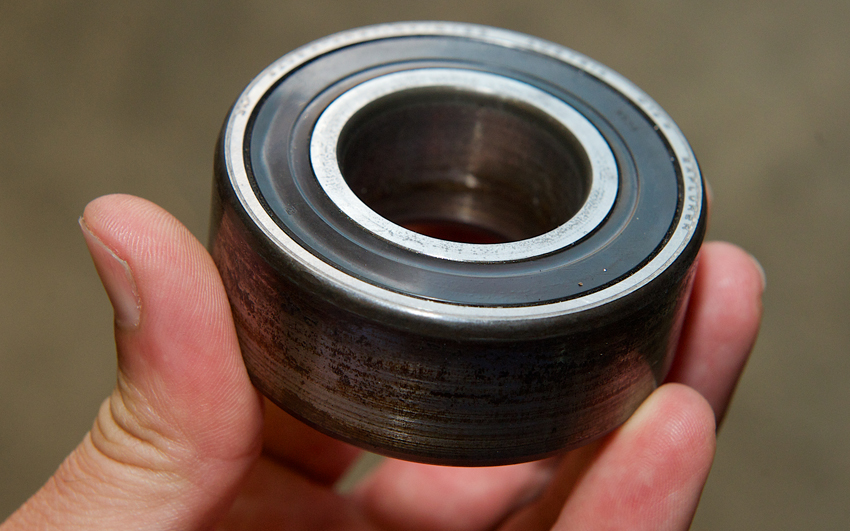
There are spacers that sit inside this bearing and I copied the dimensions of the OE spacers when making my spacers. They are a tight fit and took some banging to get in. And then a lot more banging with a hammer to get them out again. So tight was the fit that I actually knocked out the bearing in the process! As you are only supposed to hit the outer race of a bearing I suspect I've knackered it. I've ordered a new one which unfortunately was forty quid. That'll teach me.
The foot pegs seem a little high and too far forward, so I my need to rethink this. At the moment they are about 20mm higher than standard and about the same distance forward from OE. Doesn't seem a lot, but feels it. I can either move them around and possibly they will have to move back a little, or when I come to do the seat I can raise the seat height. As it stands the seat seems quite low as I can get my feet on the floor easily, much more easily than any of my other bikes, so maybe raising the seat height will be OK. I'm just wary of changing the OE set up too much as I don't want a bad handling bike at the end of it. Another thing to ponder.
If you would like to receive an email update when the next instalment is published then please email me at rubyracing@hotmail.co.uk putting "Project Ruby Racer Updates" in the subject box. Don't worry I'm not going to spam you, you will only receive an email whenever I update this site.
Build Page: 1 2 3 4 5 6 7 8 9 10 11 12 13 14 15 16 17 18 19 20 21 22 23 24 25 26 27 28 29 30 31 32 33
*
 |
 |
 |
 |